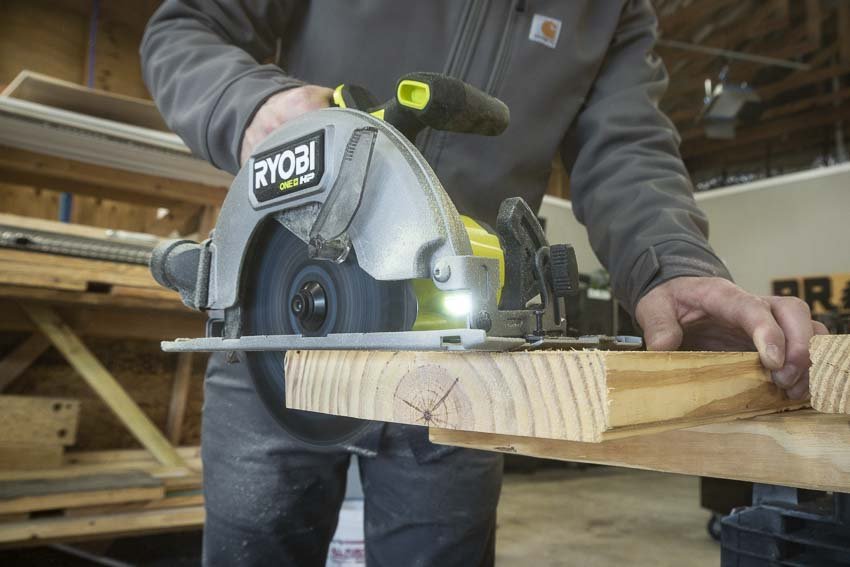
For the best results in cutting a 45-degree angle with a circular saw, we recommend that you follow this guide step by step.
For an experienced carpenter cutting at an angle with a circular saw may seem simple but it can often go wrong which is why it is important to review the best methods and procedures and give your project the best chance of success.
On the other hand, anything beyond a straight line may be intimidating for you. If so, do not fret because you are about to know everything you need to expertly cut at a 45-degree angle like a pro.
Even with something so specific, there are still variations in types of 45-degree angle cuts. The main ones are…
- Bevel cutting along the length
- Bevel cutting along the width
- Miter Cutting
To ensure that you are following the correct methods for each type of cut we have broken it down into sections so you can follow the application that applies to your project.
What You Will Need:
- A Fixed Sacrificial Bed Or Sheet. Usually plywood or MDF is ideal.
- A Circular Saw. We wouldn't be cutting much without one.
- Sandpaper. A rasp would also work.
- Clamps. For this project you would need two of them.
- A Roll Of Tape. Masking Tape is preferable.
- A Speed Square. Also known as a rafter square or triangle square.
- A Level. Though a level is preferable you can also use a straight edge.
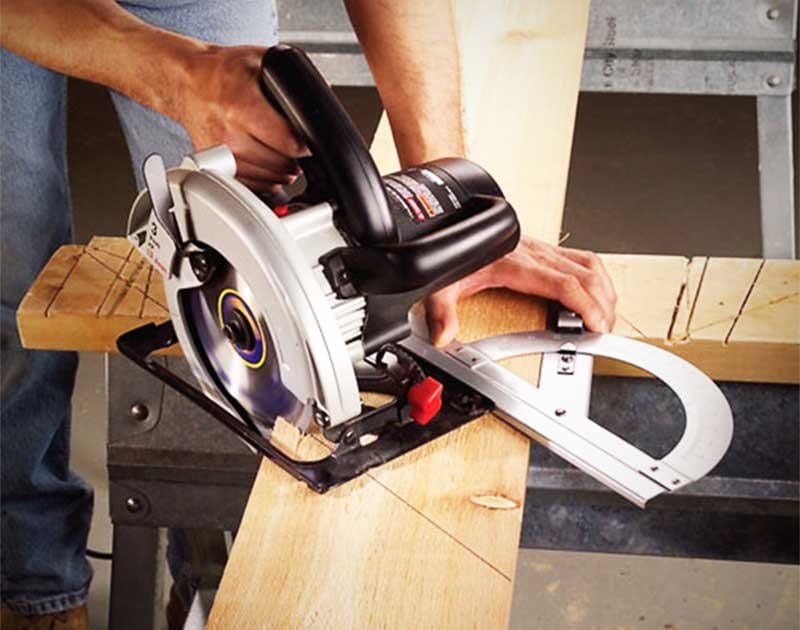
Bevel Cutting Along The Length - 45 Degree Angle
First of all, place your plywood or MDF on the flat surface. This is to protect whatever surface you are working on in case the blade goes down too far.
After placing down the wood you are going to cut, fix the masking tape over the area where you are going to draw a mark for cutting. The masking tape is to protect the user from splintering wood.
Using the triangular speed square, draw over the masking tape.
Measure the offset distance on your circular saw from the blade to the edge of the shoe and mark the offset distance on your wood. This will be the measurement you use to clamp another piece of wood to what you are cutting to keep your circular saw going in the right direction.
You will cut along the clamped piece of wood and the offset should connect exactly with where you originally marked.
Now on your saw, you need to adjust the blade by loosening the screw near the angle guide and moving to the position that states “45 Degrees.” This is also a good time to adjust the depth to match your wood.
Start cutting by using the line provided by the clamped wood and finish cutting it right to the end. You will have cut a straight line at a 45-degree angle. Sand as needed and you are done.
Bevel Cutting Along The Width - 45 Degree Angle
This is going to be very similar to the previous instructions. It may be a good idea to review the previous instructions first to get a more detailed idea as to what is involved.
Most of the steps are the same as when cutting along the length except instead of using a piece of wood as a straight line to cut along, you will instead use the speed square.
Clampdown the speed square onto your wood using the measurement you obtained for the offset between the blade and the shoe of the circular saw that mirrors the distance needed between where you are cutting and where you will place the saw.
You will therefore be pressing the saw up to the edge of the speed square as you cut.
Once completed, much like cutting along the length you will have to cut at a 45-degree angle and you can finish it up with light sanding.
Miter Cutting - 45 Degree Angle
After placing your sacrificial sheet and wood you're going to cut on your surface, you need to acquire a tape measure and determine the longest length of the piece of wood you need. Mark it accordingly.
Then, using the tape measure still, mark the shortest length needed on the wood you are going to cut. Place masking tape over these two connecting dimensions so as to protect yourself from splinters.
Now you will draw over the masking tape, to draw from one dimension to the other and make a straight line which you will cut across. Since the speed square is automatically set at a 45-degree angle you can use this to make an accurate marking and you won't require any other tool.
Like with the previous 45-degree angle cuts, measure the offset of the blade so that you can determine how far the circular saw needs to be placed from the line you are going to cut.
Using this dimension, use the triangular speed square and clamp it down to where the offset measurement lines up in comparison to the line you want to cut. Adjust the blade depth and whilst pressing the circular saw up against the speed square, cut along the line at a 45-degree angle.
Your 45-degree miter cut has been completed and you can now sand it for a nicer finish.
Safety Tips For Cutting A 45 Degree Angle
Now you know how to cut a 45-degree angle with a circular saw, we just wanted to add some basic tips that will help you to stay safe and cut effectively.
Sharpen Your Blade. Just like the knives, chefs use in kitchens, the sharper blade the safer and easier the cut will be. Take the time to sharpen your blade or buy a new one if necessary.
Positioning. Never stand directly behind a circular saw or too near the blade. These saws do at times have kickback where they thrust themselves backward. You certainly wouldn't want this kind of thing jumping back at you.
Masking Tape. Always use masking tape when cutting wood. The tap keeps the wood from splintering and flying up towards your face. It is an extra step but worth it in the long run.
Force. You need to hold the circular saw steady but you should never put excessive force into the work as this can create pinch or nip points where you could find yourself or something else getting caught up in the cutting process.
Unplug The Saw. If you need to adjust the angle of the blade or anything else that has anything to do with the blade or is near the blade make sure you unplug the circular saw first. A task that takes you a few seconds to do can save you from a huge mistake.


