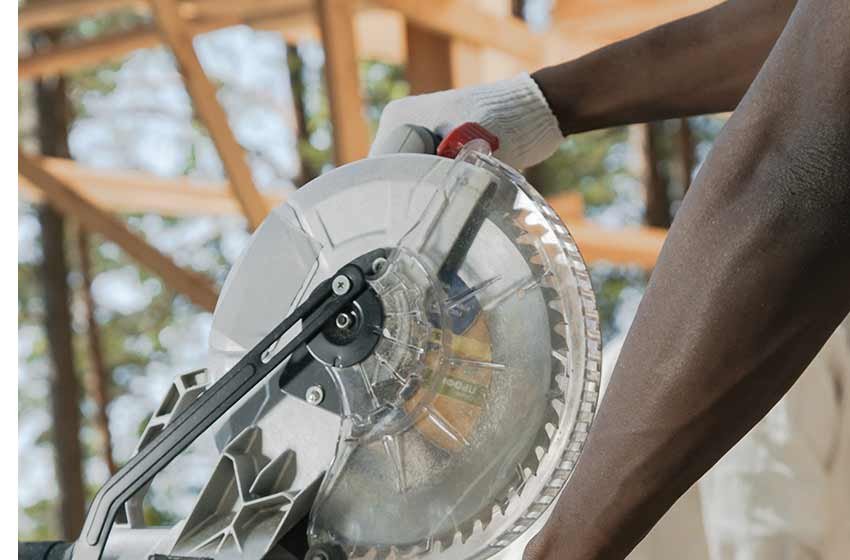
Ultimate Guide To Sharpening A Circular Saw Blade
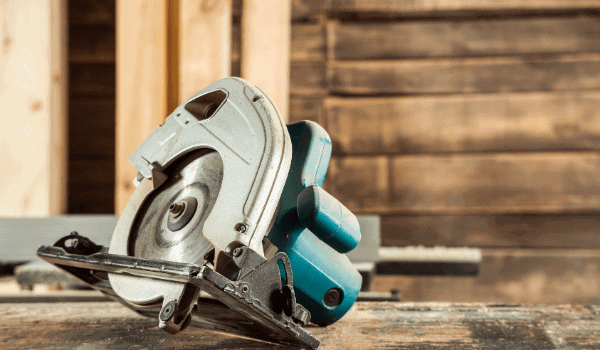
One of the most popular tools in woodworking is the circular saw.
After some use the blade on the saw can be dull and you will find that the cuts aren’t the quality they used to be. So what do you do?
Is it actually worth the time to sharpen the blade from your circular saw? You’d be forgiven for asking this question. Isn’t it easier to just replace the blade?
Easier, kind of. Cheaper, absolutely not. Circular saw blades can be pricey. Sharpen the blade yourself can get your blade back to how it was when you bought it new, so it really can be worthwhile.
Different blades will impact how much you can sharpen them but, you can potentially use and sharpen the same blade for around three years. That really will amount to a big saving!
It wouldn’t be right for me to not mention that every blade can be sharpened, this will depend on the material of the blade. If they can’t be sharpened, they usually don’t cost a lot to be replaced as they weren’t the best quality, to begin with.
To get the best out of your circular saw it could be worth investing in a quality blade as that will save you money in the long term and give you razor-sharp cuts!
So without further ado, let’s sharpen our blades!
How to Sharpen A Circular Saw Blade - Step By Step Guide

Whether you are using a Dremel or sharpen your blade by hand, these steps will get you through the process.
Step One: Blade Removal
Please don’t skip this step! Aside from the fact it’s incredibly dangerous to attempt to sharpen the blade while it’s still in the saw, it just won’t give you the best sharpening results.
Depending on the model of circular saw you have will depend on how you go about removing the blade.
A lot of saws have a release switch for the blade so this should make it relatively simple to remove. Other models you may find that you need to use a wrench in order to get the bolts loose. Again, this is a relatively simple step, just requires an extra tool and a few minutes.
Step Two: Ensure The Blade Is Secure
Your blade will need to be held in place securely so that you are able to focus on the job at hand.
The best way to do this is to use a vice grip, have the blade face upwards and the teeth facing towards you.
Tip: Be sure not to make the vice too tight around the blade. It should be just enough to ensure the blade won’t move. Overtightening can lead to warping the blade.
Step Three: Mark Up Your Blade
Another important step, make marks on the top side of your blade. The reason for doing this means that you will know the full area of the blade is covered.
Not doing this step can lead you to sharpen areas twice.
One thing to notice is that after every two-blade point, you will see a bevel, this will be on the side that you are facing.
Now you need to be aware of the sharpening angles of the circular saw blade. Take your file and place it at around 20 degrees in relation to the bevel, this will give you the correct angle.
Once you are satisfied with your angle file around four strokes near the bevel. This should see the tip sharpen, if you aren’t quite happy, file a little more until you are.
Step Four: Bevels
I would consider this to be more of a tip than an official step. You may have already noticed that on each blade there are bevels.
When filing blades can be skipped so that you can be moving onto the next bevel edge. Keep doing this until you have gone around the full blade once. Make sure to keep things consistent and remember how you sharpened the first blade.
Step Five: Rotate The Blade
The exact same process will need to be completed on the other side of the blade.
Don’t forget to make sure you know your starting point, reference it by creating a mark!
Step Six: Filing The Tips
To ensure your blade is truly sharp and back to ‘good as new’ condition, file the tips of each blade.
This doesn’t take a lot, a few stroke backwards and forwards should do it. Be careful not to wear it down.
You will need to do this for every blade tip on the blade.
Step Seven: Reinstall The Blade (Final Step!)
Possibly the most satisfying step of them all. Your blade should be nice and sharp now so it’s time to return it to its rightful place.
In the same way, you removed it from the circular saw, reinstall it.
You should now find that your blade is nice and sharp once again and you’re free to resume cutting those precise cuts we all know and love!
Tips to look after your Circular Saw Blade

As simple as sharpening your blade is, it’s not something you want to be doing all the time. Helpfully there are some steps you can take to maximise the life of your circular saw blade!
Keep it dry
To be honest, this can be applied to pretty much every power tool you own. Wet power tools are generally unhappy.
With the case of circular saw blades, the steel is susceptible to corrode if it is exposed to moisture and humidity.
It is best to keep your circular saw in a place that is always dry, this will undoubtedly increase the life of the blade.
Right Tools For The Job
How many times have you heard “use the right tools for the job”? It’s one of those phrases that is so often heard but it’s so important, especially in the case of blades.
Different blades have different uses and if you don’t use the right blade for the job, you are likely going to damage the blade. Not to mention, the overall quality of the job will be worse.
Make sure you use each blade for what it is designed for.
Keeping it Cool
If you’re doing a fair amount of work this can lead to your blade getting quite hot, it’s important to keep an eye on this.
If you detect heat coming from your blade, take a break and let it cool down.
Storage
One of my favourite tips, how you store your blade can impact the overall sharpness of it so be sure to store it correctly.
Ideally, you want to hang the blade using the centre hole, this will stop the blade from becoming dull during storage.
Final Thoughts
That’s it! That’s your complete guide to sharpening your circular saw blade, with a few handy hints thrown in.
Quality woodworking requires your blades to be in the best condition and being able to sharpen your own blades can really make this more achievable.
A dull blade doesn’t help anyone. It makes the saw work harder. It makes you work harder. You throw more materials away when the cuts are poor. So now really is the time to learn a new skill and bring your blades back to life!
Related Questions
How can I tell if my circular saw is dull? There can be various ways to tell, the first and most clear sign is that the quality of your cuts will decrease. You will start to notice rougher cuts.
A dull blade will cause the motor to work harder. It can be important to pick up on this as it can shorten the life of your circular saw.
Take note of the noise coming from the motor when you know the blade is sharp. If you notice a change from this noise, then your saw is working harder and you should address this.
One other telltale sign that your blade could do with a sharpen is if any teeth of the blade are chipped or if there are any rounded edges. Have an inspect of your blade, if you notice any of this, it could be time to sharpen.


