A Beginner Guide To Using a Power Drill
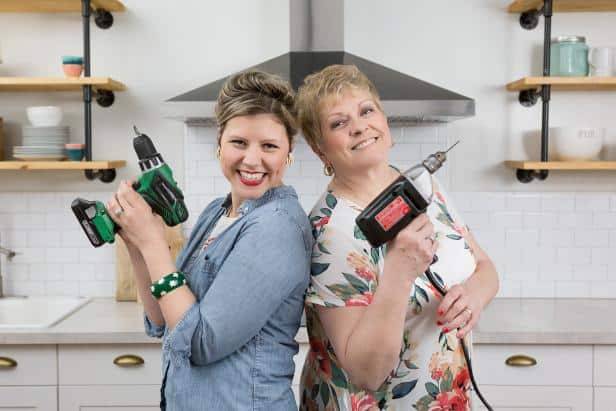
Power drills are an essential tool for anyone to have in their home, whether you need to hang shelves or pictures, having a power drill on hand allows you to complete the job in a matter of seconds with no effort required!
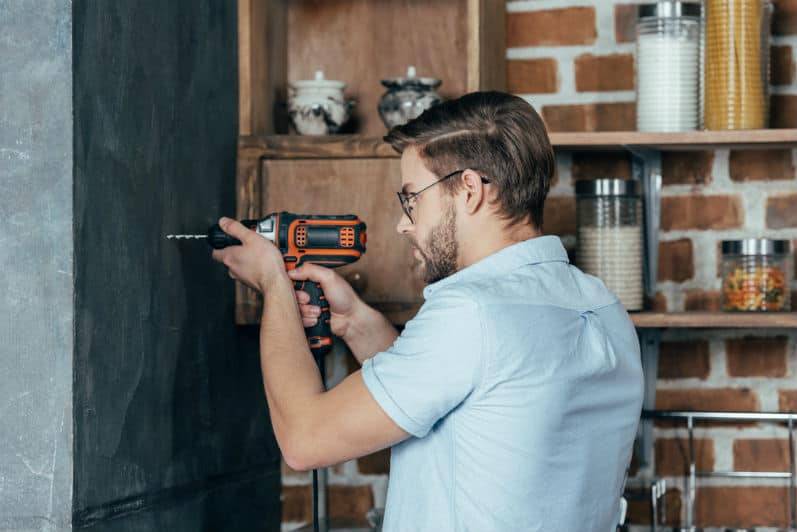
Many people are worried about using a power drill as a beginner, but once you understand the basics, you will be able to use these drills effectively and safely by following tips such as wearing the right safety gear and drilling pilot holes beforehand to get a feel for the drill.
As we know these kinds of power tools can be intimidating as a beginner, we have decided to pull out all of our best knowledge and make a user guide for you below so as you can become confident with your new power drill.
What Is a Power Drill?
A power drill is essentially a motorised machine that uses different drill bits to make holes in various materials such as wood for building furniture. These devices used to only be utilised by construction workers, but more and more people are deciding to have them in their home tool kit due to their convenience and use for everyday tasks such as hanging frames.

Power drills often come with variable powers and speeds which can be adjusted according to the task, they also have different drill and screw bits to tackle various materials most efficiently.
How Does a Power Drill Work?
Power drills depend on their motor for power when drilling and come with main parts that can be adjusted and controlled for the drill to work properly, we have noted these essential parts out below.

- The chuck – A chuck on a power drill is the part of the device where you will insert the drill bit, most can be open and closed via the trigger switch.
- Gear switch – Gear switch is what changes the speed of the drill, you can switch to higher gears for tasks such as drilling holes and lower gears for driving screws.
- Reverse switch – The reverse switch allows you to change the direction that you are drilling, with the middle position acting as a safety switch.
- Torque control – Changing the torque control allows you to set the specific drilling power that you want.
- Trigger switch – The trigger switch is the power switch that you hold down to start the drill.
- Battery – This is what powers the drill unless you buy a corded model which is less common nowadays.
What Drill Bits Do You Need For a Power Drill?
Power drills can be used with drive bits which are for screwing in screws and drill bits which are for drilling, these bits come in many different types and can be better or worse for the task you need to do.
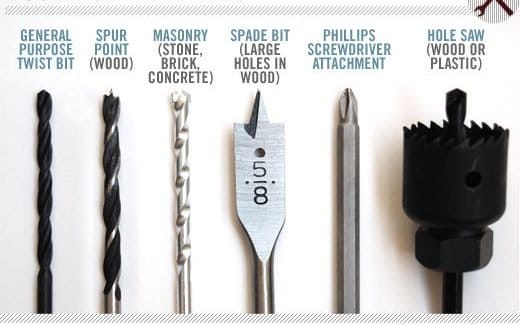
We have made a list of the common type of drill bits you can use with your power drill below and what they are each suitable for.
- Masonry drill bits – Best for drilling through hard materials such as concrete, stone or brick.
- Spade bits – These bits are great for drilling into pieces of wood where you don’t need the hole to go all the way down, for example where you don’t want a screw to show.
- Hole saw – There is a drill bit in the centre then teeth around the outer part with a tube to make a hole.
- Screw bits – Great for screwing in screws quickly.
- Regular bits – These bits are great for your average drilling tasks such as wood or furniture.
- Screw extractors – If you have a stuck screw, using a screw extractor can help your reverse it easily.
What Can You Use a Power Drill For?
Power drills are great to have in any home due to the fact they can be used for a variety of tasks, we have listed out some common uses for a power drill below so as you can see if one of these drills could be of use to you.
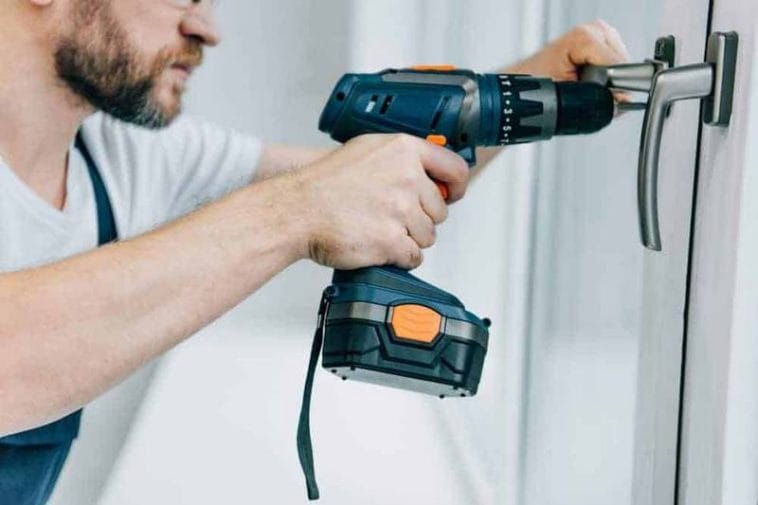
- Assembling furniture.
- Hanging pictures.
- Fixing fastenings.
- Drilling holes.
How To Use a Power Drill In The Best Way (Step By Step Guide)
Using a power drill is simple and anyone can learn once you understand how the different controls work, however, using one safely is another matter. To help you learn how to use a power drill safely, we have put together our best step by step guide below.
Step One – Wear Safety Gear & Clear The Workspace
First of all, before you start drilling it’s important you are wearing the correct safety equipment such as goggles and a dust mask, also make sure your work area is free from pets and kids to avoid any distractions when operating the power tool.

Step Two – Remove The Battery & Loosen Chuck
Unplug or remove the battery from your power drill then loosen the chuck so as you can insert your chose drill bit, this drill bit should be suitable according to the task, whether drilling masonry or regular wood.

Step Two – Insert Your Chosen Drill Bit & Retighten
Once you have chosen your drill bit, insert it into the power drill and retighten the chuck to secure it.
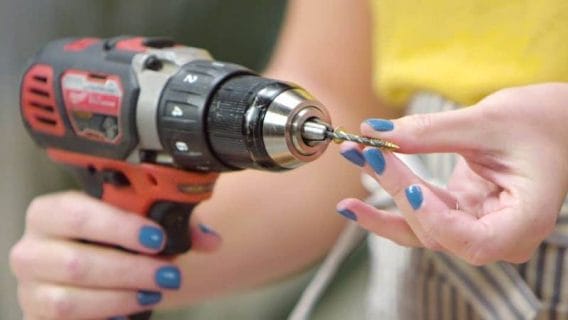
Step Three – Select The Speed & Adjust Torque
Before drilling, you should select your variable speed and torque settings. For drilling, you should select a faster speed and for driving a slower one, the same applies to the torque control, meaning higher for drilling and lower for driving.

Step Four – Stabilise The Drill Vertically
After you have set-up your drill correctly you can hold down the trigger switch and start drilling where you have marked, make sure you hold the drill stable and apply light pressure as you drill the hole vertically, never rush the drill.

How To Use a Hammer Drill?
A hammer drill works similarly to a power drill, except the is much more powerful, you can follow the same steps above to use your hammer drill, except you will often need to set the depth before you start hammer drilling as your device can stop drilling at a certain point.

You should also start with a slow speed when using a hammer drill then let it work its way up gradually.
Safety Tips & Tricks For Using a Power Drill
Now you know the basics of how to use a power drill, we have put together some important safety tips and some other useful tricks for you to follow when using the drill below so as you can be confident when functioning the power tool.

- Use the correct drill bit – Using the wrong drill bit in the wrong material could potentially damage the bit and the material itself, always make sure your bit is designed for the job.
- Wear safety gear – Never operate a power drill without wearing a mask and goggles, when drilling or screwing materials, debris is likely to fly off and can cause serious damage if it gets in your eyes.
- Try pilot holes – Always drill a pilot hole in your material before switching to a large one and use clamps to secure small materials.
- Follow the specs – If your drill bit says it needs lubrication to keep it cool then ensure you apply this, also never push a bit past its maximum drilling capacity.
- Turn off the drill when changing bits – When changing the bits on your drill, always remove the battery or unplug it first.
- Make sure the chuck is tight – Tighten the chuck till secure and remove the key before starting up your drill.
Frequently Asked Questions About How To Use a Power Drill
What is a pilot hole?
A pilot hole is a small hole you drill before drilling into it to make a bigger one, this small hole can help you prevent cracking the material as you drill.
How much do power drills cost?
Depending on the model and brand, a power drill can cost up to £100 and over.
What kind of speed and torque should a power drill have?
This will change according to your usage but power drills tend to have speed up to 2000 RPM and ratings of up to 80 Nm of torque.
Final Words
To finish off our power drill guide, we would like to round up by concluding power drills are easy to use for anyone and are a staple to have around your home for screwing and drilling bits and bobs. Always ensure you are using the right drill bit and power for the job, and make sure to follow the safety tips above to avoid any accidents when drilling.
