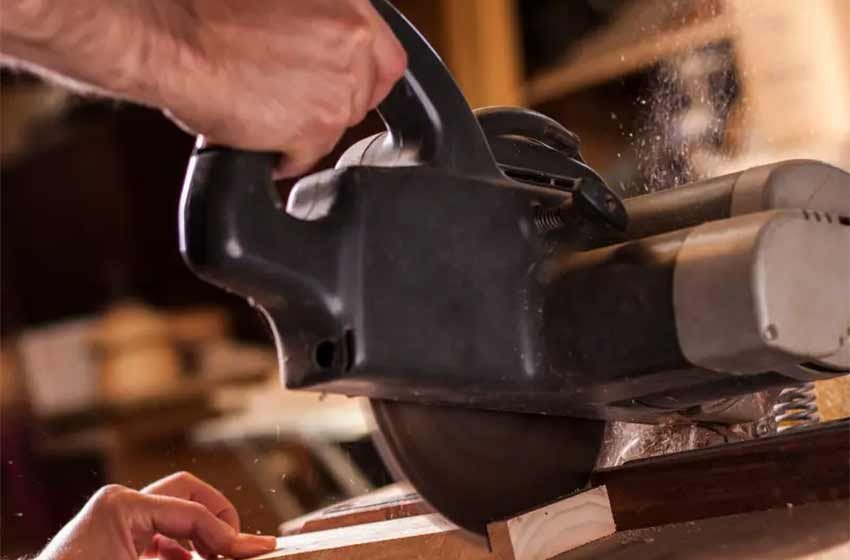
Our Best Guide To Cutting Coving Corners With a Mitre Saw
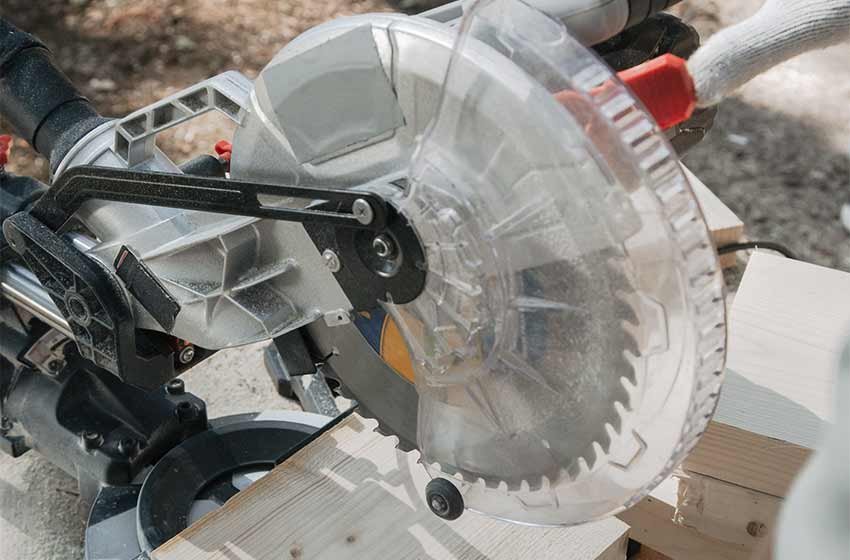
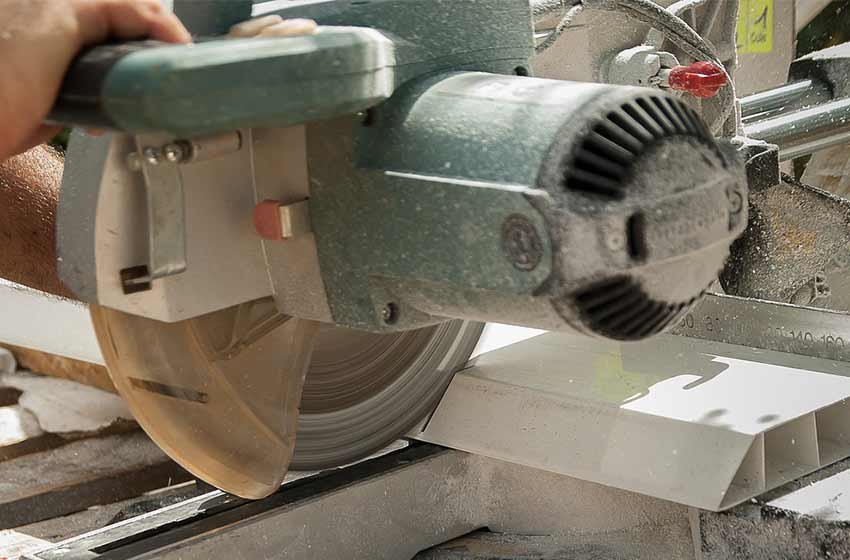
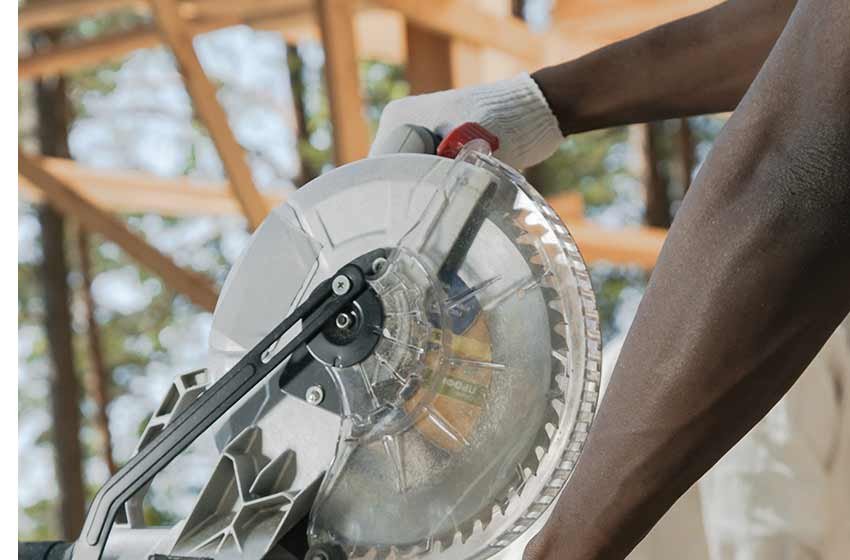
The idea of cutting pieces of coving with a mitre saw can be a little overwhelming at first if you are a DIY beginner, however, mitre saws ensure we get a professional finish when used as an accurate cutting guide.
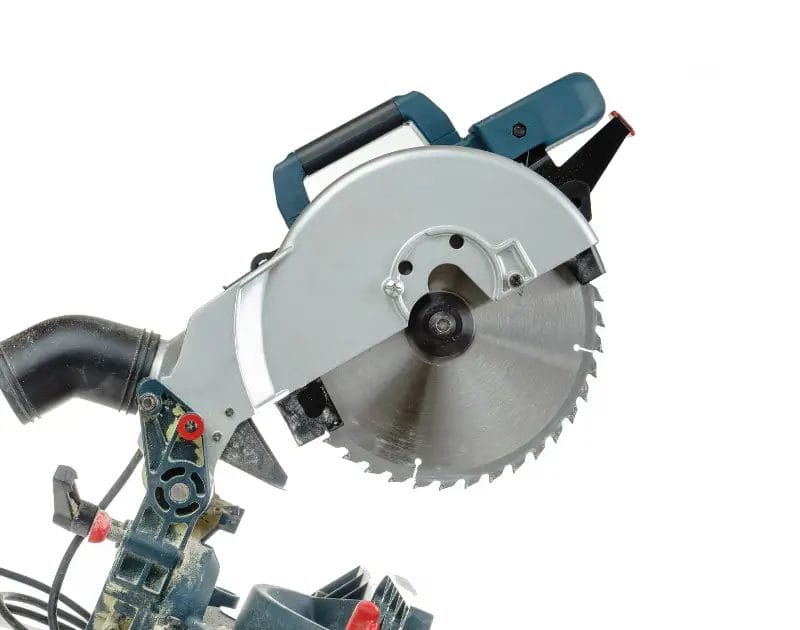
Cutting coving corners with a mitre saw is simple if you use a mitre box in conjunction as it guarantees you cut at the correct angle, compound mitre saws will also ensure you get the accurate angle thanks to their adjustable gauges, however, you do need to consider factors such as the type of coving you are cutting beforehand and the sizes of coving.
To make cutting your size of coving and corners a little easier, we have composed our simple guide below that will tell you all the preparation you need to consider, the tools you will need for cutting coving corners with a mitre saw and a step by step on how to do it for a neat finish.
What To Consider Before Cutting Your Coving Corners
Before we get into how to cut your coving corners with a mitre saw, there are a few important considerations that should be taken to begin with so as you can be prepared to cut your coving in the right way according to your room plan.
We've listed the main points to consider down below.
Type Of Coving
The main types of coving on the market are; polyurethane coving, plaster or polyester coving. Plaster coving tends to be most traditionally used in households and comes in lots of different patterns according to your taste, plaster coving and polystyrene is also a more affordable piece of coving.
When comparing both plaster coving and polyurethane coving, plaster tends to be a little harder to put up and takes more skill than polyurethane coving.
You can also find wooden coving which we will cover how to cut corners with later.
The Angle Of Coving Corners
Most forgiving rooms have a 90-degree coving corner, but some odd-shaped rooms might not, meaning you would have to use a mitre guide to measure and find the external angles you will need to be cutting on your piece of coving.
If you are not confident about the exact angle you have found in your room then using a practice piece of coving to find precise angles will be helpful.
Using a Mitre Box
Mitre box is great for using if your after a neater finish as they hold your coving still while you cut according to guidelines, this is because the mitre boxes use slots to hold your coving straight while you saw.
Mitre boxes also make it easy to number your walls and coving accordingly to avoid confusion.
Measuring Your Room
Most importantly, before cutting your piece of coving, you need to measure your room correctly so as you can get the right sizes of coving and not waste any. After finding your mitre internal angle and external angles you can then grab a piece of coving and a pencil, use a spirit level to keep it balanced and mark along with the coving where you need to cut.
Start with the longest piece of coving first then write the measurements on the side of the coving that you found as a guide for sticking it down with adhesive later. Remove loose plaster or paint while you are doing this and try not to worry about uneven places as you can cut and stick a piece of coving later to fill this for a uniform finish.
Cornice Vs Coving Profiles
We have discussed a few types of coving above but you should also consider the difference between the decorative finishes of cornice and coving profiles. Cornice coving tends to have more patterns while normal coving is in a 'C' and tend to be easier to do DIY work with.
Tools Needed For Cutting & Putting Up Coving
To start with, you will need a mitre compound saw or a mitre box to cut your coving corners with, you should also ensure you have the following tools which we will list below.
- Adhesive - for sticking down the coving at the end.
- Chalk line - to measure with.
- Spirit level - balancing the coving.
- Primer.
- Cloth - to wipe away adhesive.
- Painters knife - to apply adhesive -
- Paintbrush.
How To Cut Coving With a Mitre Block
If you have decided you want to cut your coving corners with a mitre block then you need to make sure you use the guide lines properly and have a decent fine-toothed saw for cutting the corner in coving.
We have listed out some steps to follow below.
- Step one - Secure the depth of coving in the coving mitre block so as it is stable and won't move around cutting, use the adjustable gauges to do this.
- Step two - Figure if your coving mitre joints are longer than the wall edge, if so you can put two pieces of coving together to make a butt joint.
- Step three - Use a mitre joint at 90-degrees by cutting two pieces of the coving at 45-degrees. Try with a practice piece of cheapest coving first to ensure your angles on the coving mitre tool are right.
How To Cut Coving With a Mitre Saw
Now we know how to use an old school coving mitre box to cut a butt joint in our coving, let's discuss how to cutting coving corners with your standard mitre saw too.
- Step one - Measure out the walls and mark where you will stick your coving down later for a neat finish, mark the coving too and write down your external left-hand wall measurements and right-hand wall measurements being internal or external.
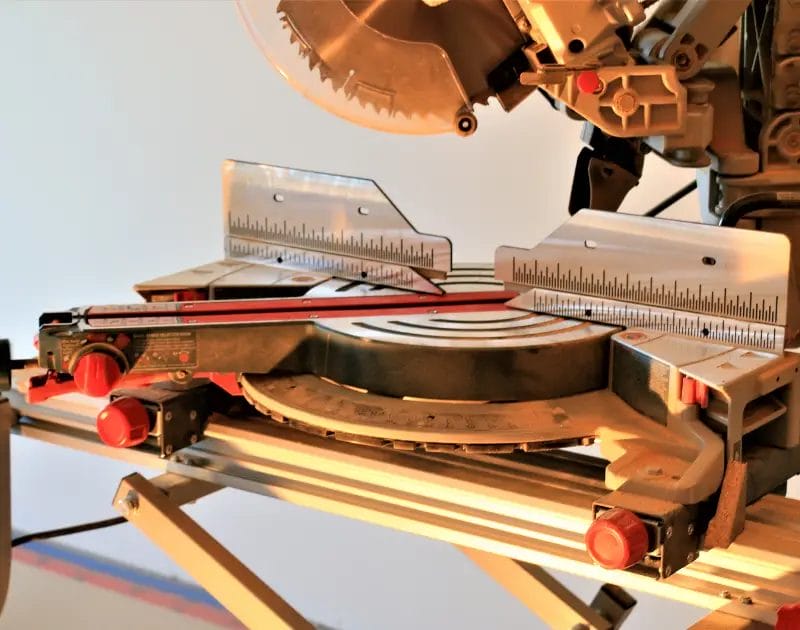
- Step two - Set your compound mitre saw for cutting your coving into position to 45-degrees and position the coving onto the table of the saw.
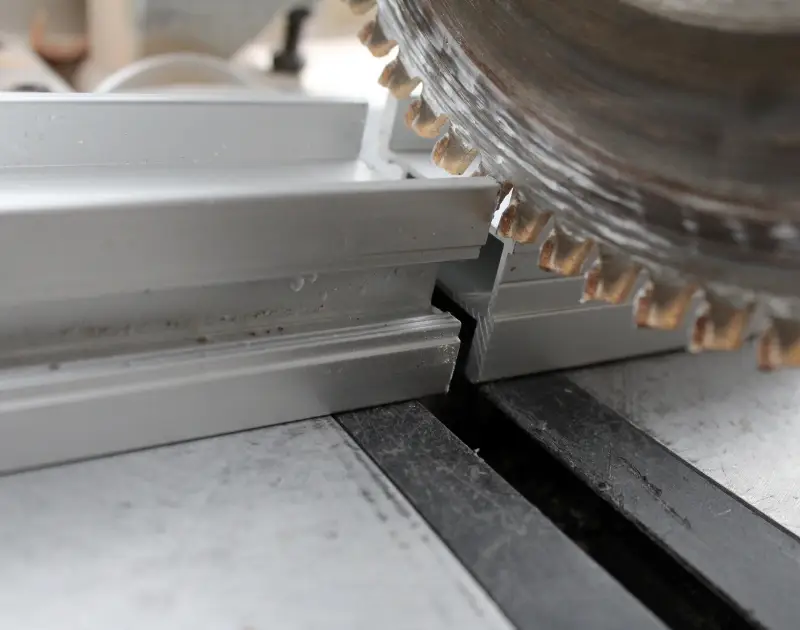
- Step three - Make sure the top edge of the coving is against the saw fence and that the blade guide is either to the left for a right end or cut or to the right for a left end cut.
- Step four - Hold the coving securely against the fence and cut the coving in one motion for a smooth finish.
How To Fit Your Mitre Cut Coving
Now we know how to cut your coving edges with a mitre saw or box, you need to know how to fit them too, and this is achieved by using adhesive.
- Step one - Make sure the area where you are going to stick the coving is clean and has no dust or lose plaster, prime the area first according to your pencil mark for a better stick.
- Step two - Apply adhesive to the top and bottom edges of your coving after cutting and align to the ceilings for coving, press firmly making your way from along the ceiling edge until finished.
- Step three - Fill in any gaps needed after sticking and use a scraper to get rid of any extra adhesive before it dries.
Tips For Cutting Coving Corners With a Mitre Saw
Cutting coving for your ceiling is not the best of DIY jobs and takes some serious patience and accuracy if you are after a neat finish, we have listed a few of our essential tips below however to help you when it comes to the whole coving process.
- Always add on 10% more when purchasing - When buying your coving always buy a little more extra than you think you will need, this allows for any mistakes or extra pieces you might need, coving is quite affordable so there is no need to worry about the price.
- Use panel pins when sticking - Till your adhesive has time to stick down properly it is always a good idea to hold the coving in place and prevent it from falling with a few panel pins.
- Try a chalk line - A chalk line is a great tool for marking straight long lines which you need when measuring the coving mitre template with accuracy.
- Use a mitre saw (if you can) - Mitre saws are often more accurate and better to use than old school mitre boxes, however, mitre boxes can be great for beginners if you don't know how to use a compound saw.
Frequently Asked Questions About Cutting Coving Corners With a Mitre Saw
What are the two ways to cut coving?
You can be coving either through a straight butt joint or mitred joint which we discussed above, to create a straight butt joint simply line two pieces of coving up on a straight edge, line the measurement marks of the coving up with the stepped end of the block and cut keeping the saw against both ends of the block.
For mitred joint will this depend on if you are making left or right external corners, or internal left and right corners but follows the same process in our guide above.
Can I use a manual mitre saw to cut coving for a wall edge?
Yes, manual mitre saws can be used to cut coving with a mitre block, but you must have good control for accurate angles and know how to use one of these fine-toothed saws, mitre compound saws do typically tend to be easier to use.
Is fitting coving hard?
As long as you have measured right and prepared the wall edge, cutting coving is not hard to do although a pair of hands for assistance can go a long way, make sure to number your coving right and apply adhesive to both edges.
Should I use a chop saw or a mitre saw to cut coving for a wall edge?
It is possible to cut coving for a wall edge with a standard handsaw but it will be harder than using a mitre compound saw, always use your saw with a mitre box for accurate angles.
Do I need to sand coving?
For the best finish, it is recommended to sand your coving to smooth out any bumps and help it look seamless on your wall edge.
Do mitre saws cost a lot?
Mitre saws handhelds do not cost too much and should only set you back £50, but for models such as an electric mitre saw this can cost between £100-£300.
How much do mitre blocks cost?
Mitre blocks cost around anything ranging between £5-£10 so are a cheap investment for an accurate corner with your coving.
How do I cope with an inside corner?
Coping an inside corner is an easy way for beginners to cut corners in their coving, to do this you simply clamp the moulding to a bench, cut 1/2-inch from the moulding at a 90-degree angle, colour the fresh end with a pencil then cut it away at a 45-degree angle.
Last Words
Overall cutting coving corners with a mitre saw is a simple process with a mitre block, make sure to measure your angles correctly beforehand and mark them, always prepare the ceiling in advance too before fitting your coving with adhesive to avoid parts falling off or fitting unevenly.
Cutting coving corners will be done according to your room plan and angles, so always take this into account before choosing the angle to cut with and allows for extra coving as backup and testing practice angles on.
