Have you just picked up your new tool, a brand new mitre saw? Perhaps you need to know the basics or have a refresher course before you power it up?
If you have never used a mitre saw before then the best thing you can do right now is have a read through our How-To guide!
We’ll guide you through the basics of a mitre saw and give you a few pro tips along the way. Sound good?
Well, let’s get started!
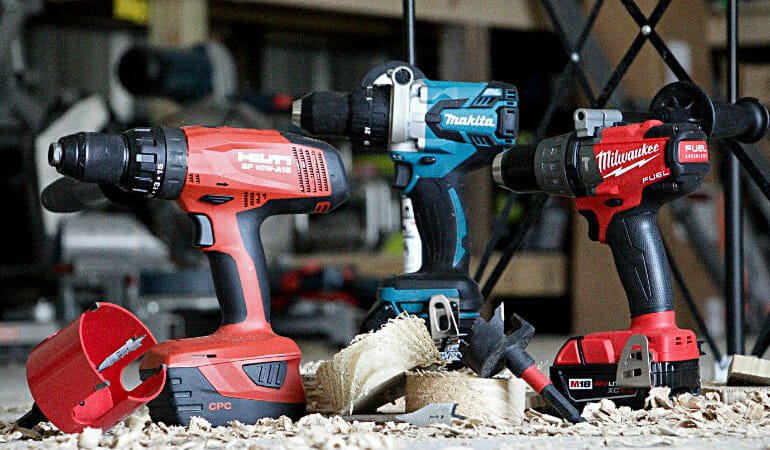
Mitre Saw Types
We go into more depth on the different types on mitre saws on their own posts but here is a brief overview so we can work through their different setups.
- Mitre Saw: Mitre table to adjust the cross-cut angle
- Sliding Mitre Saw: These will have a sliding rail system so the blade can slide from front to back. This will extend the maximum cutting width
- Compound Mitre Saw: Can do both mitre and bevel cuts
- Sliding Compound Mitre Saw: Mitre and bevels cuts, the sliding function allows you to maximise your cutting width
- Double Bevel Sliding Mitre Saw: Can do all of the above. A double bevel also means that you don’t need to flip the wood over and readjust, this provides greater precision and saves times.
Safety First
I know you probably wanted us to dive right into the sawing everything up stage but these are powerful tools, with a sharp spinning blade so it seems only right we address a few safety aspects first.
Without further ado, here are our safety tips for using a mitre saw:
- Always wear eye protection
- Don’t wear loose clothing or jewellery, these can catch on the blade
- Ensure your hands remain a safe distance away from the blade at all times. Never lose focus on this. A lot of mitre saws will have warnings of where not to put your hands. They are there for a reason, please follow them!
Depending on the type of material you are cutting, you may wish to consider a few additional PPE options:
- Dust mask
- Ear defenders
- Gloves
- Dust extractor/collector
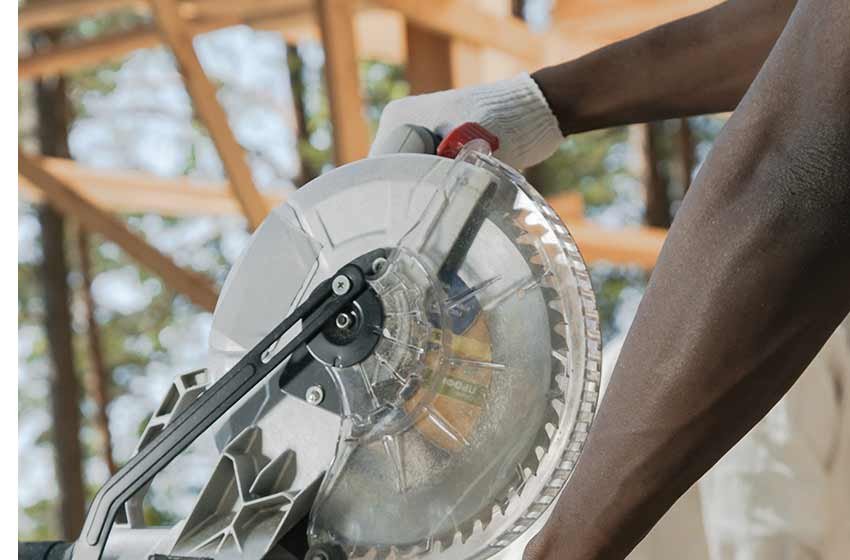
Know your Mitre Saw
With safety now covered, it is always advisable that you familiarise yourself with the tool you’re about to use.
It is worth spending some time going through the instruction manual.
There will be different locks and adjustments on the tool, the location of these will vary. So before you power it up, it’s best you know where to find these.
As we now know, there are lots of different types of mitre saws and they’re all different, get to know yours. Even the professionals spend time familiarising themselves with a new tool before using it.
Different Cuts: Mitre vs Bevel vs Compound Cuts
Some mitre saws can do all of the above cuts, some can’t. We cover that off a bit further up so hopefully that’s already clear.
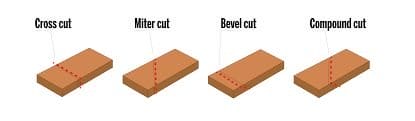
Mitre Cut
A mitre cut is an angled cut. These are often done on the basis of two structures so that when joined, they create a corner. This then becomes a mitre joint.
To be considered a true mitre joint, the two pieces should be cut at a 45-degree angle. When then are then joined, it will make a corner of 90 degrees.
At this stage, it is worth saying that mitre joints can be created from other angled too but this is the most common.
Bevel Cuts
The blade can bevel cut in either direction, it can also tilt both sides, right and left allowing you to make angled bevel cuts vertically in either direction.
One big advantage when using a double bevelled mitre saw is that it is generally more precise than a single bevel mitre saw as you are able to have greater accuracy when selecting the bevel and degree of angle.
Compound Cuts
Mitre saws described as “Compound Mitre Saws” are mitre saws that have the ability to do both mitre and bevel cuts simultaneously.
Compound cuts are often used when mouldings are being fitted as they tend to rest on a wall at an angle, usually requiring some corner joints.
Compound cuts are often used on complex tasks such as crown moulding.
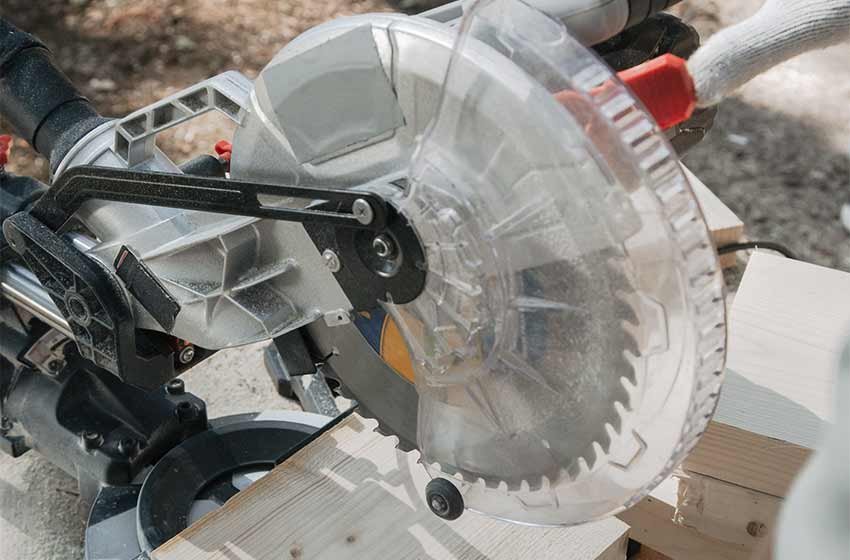
Calibrate Your Mitre Saw
The chances of you being able to get your mitre saw out of the box and not have to make any adjustments, well, that really would be quite something!
Let’s put it this way, there is a very high chance that you will need to do some calibrating before you can start using your saw.
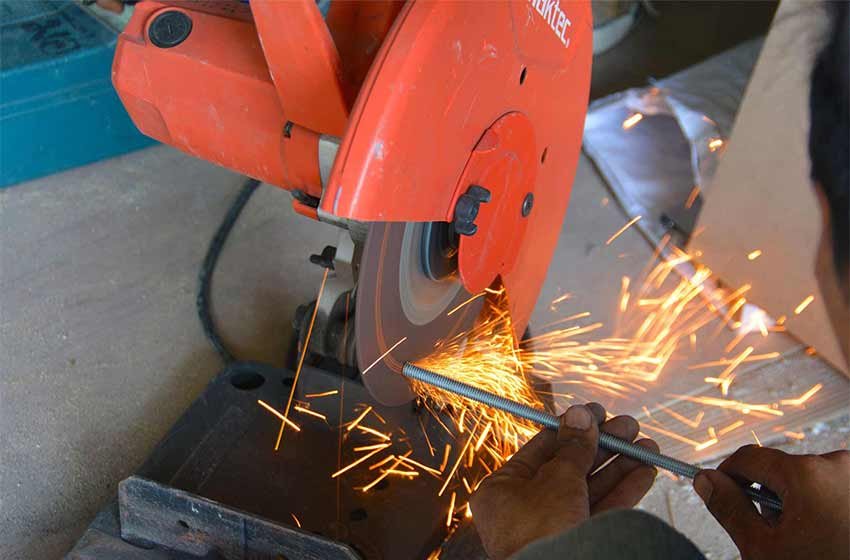
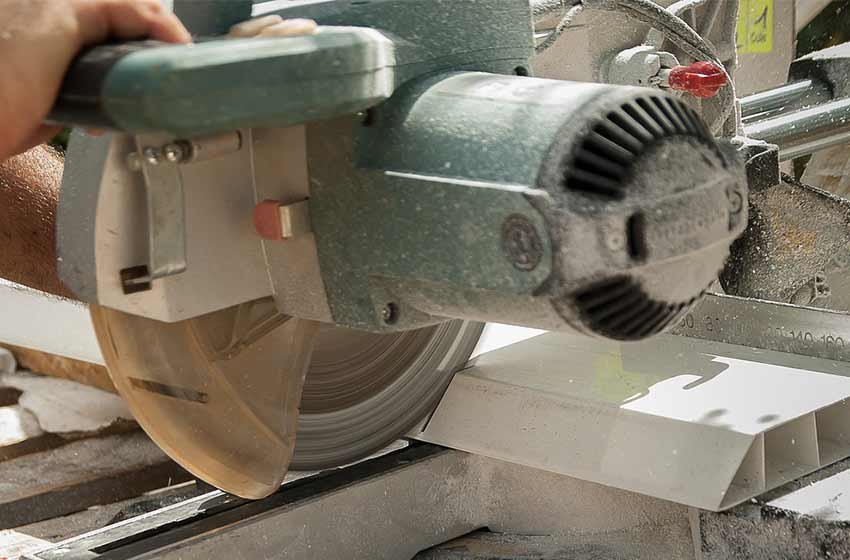
Inspect the Blade
Whether you have used your mitre saw countless times or you’re just taking it out of the box, inspecting the saw is a worthwhile thing to do.
A visual inspection can be the difference between a sharp cut and a bum one.
Do make sure to clean your blade occasionally, this will extend the life.
Set Your Angle
So how do you do a basic mitre cut?
Firstly unlock the mitre gauge and slide it to the angle you want. A lot of mitre saws will let you mitre in both direction but it is always worth double-checking the cutting angle before powering up the blade.
It’s not unusual for mitre saws to have indents at the most common angles on the gauge. Helpfully, these automatically lock into place.
These locking positions tend to be at 0°, 22.5° 31.6°, and 45°. As with a lot of things, this can vary model to model but generally speaking that is what you’ll find!
If none of those angles is what you want, you can simply slide the arrow to the desired angle and lock in place. Locking in place will prevent the table from moving while you’re cutting - pretty important!
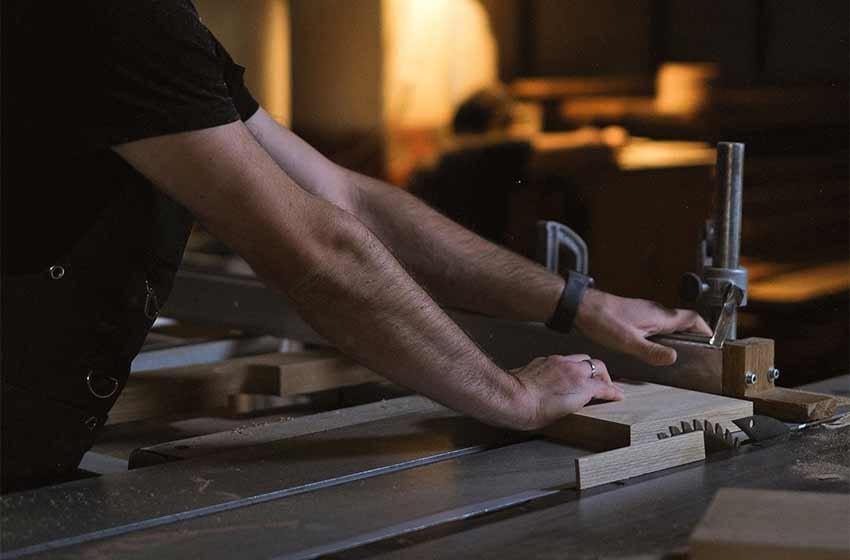
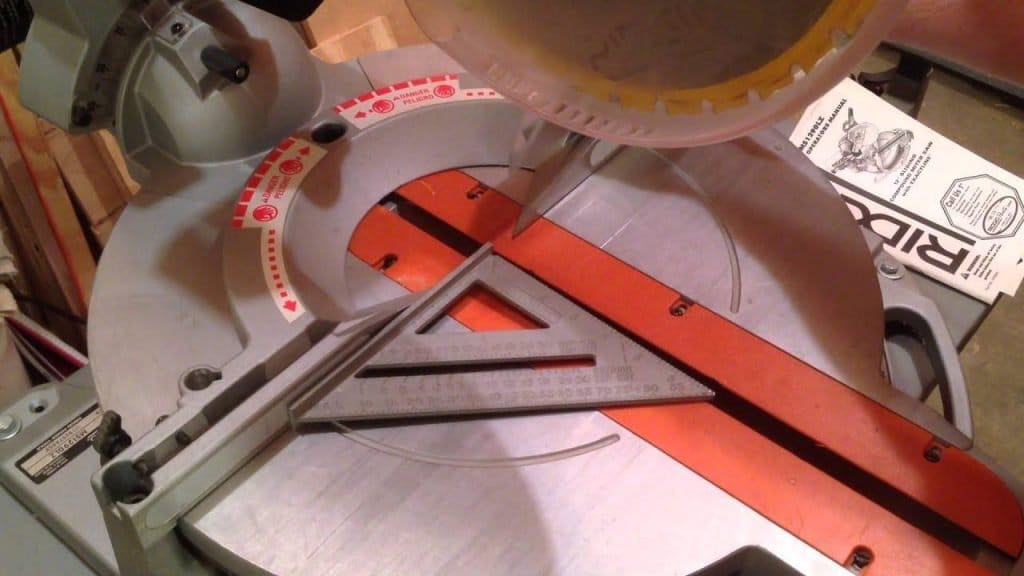
Measure Up
It is always worth measuring twice, no matter how certain you are about your measuring skills. After all, you can only cut once!
The best way to do this is to measure the cut distance from the left side of the board. Mark this distance with a fine line.
Then just on the right side of this line, draw a small “X”. Once you have done this, you can line up your blade. Line the left side of the blade up to the line you have drawn.
What you should find is that the kerf of the blade is over the “X” you marked. This will prevent you from cutting the piece too short.
From this point pull the blade down when it’s not running and just touch the wood. This will show you where the blade is going to cut.
Adjust the wood left and right if you need to. Once you are happy, you’re pretty much ready to go!
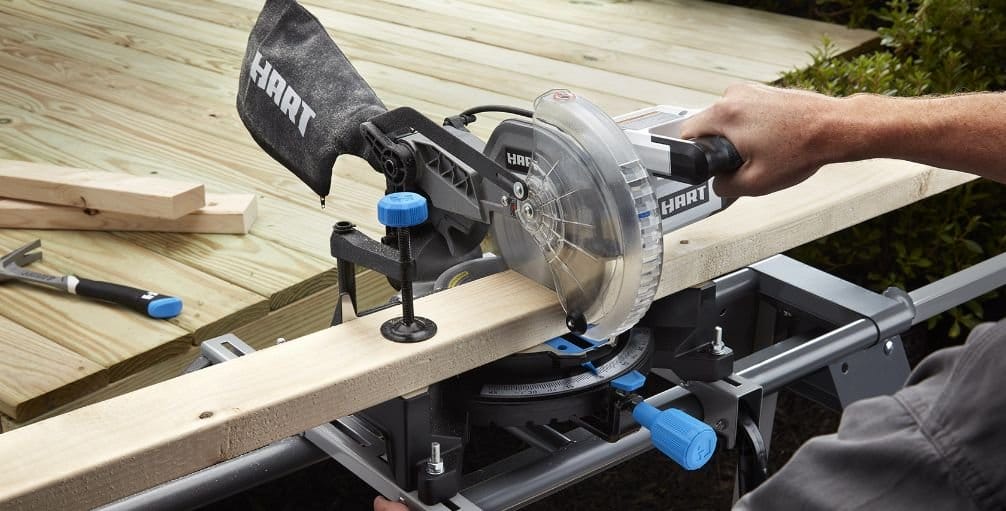
Cutting Time
Now you have got everything lined up, you’re all set.
If you have a mitre saw that doesn’t slide, it makes cutting an easier task. Start your saw up and drop the blade so that it meets the wood (tip: I’d always recommend ensuring the wood is secure before letting the blade make contact. Holding it with your left hand is an option that many people use.).
The mitre saw should maintain a high RPM while cutting, this for you to control and may take some time to get used to.
Let the saw do the work, just keep lowering it and it will complete the cut.
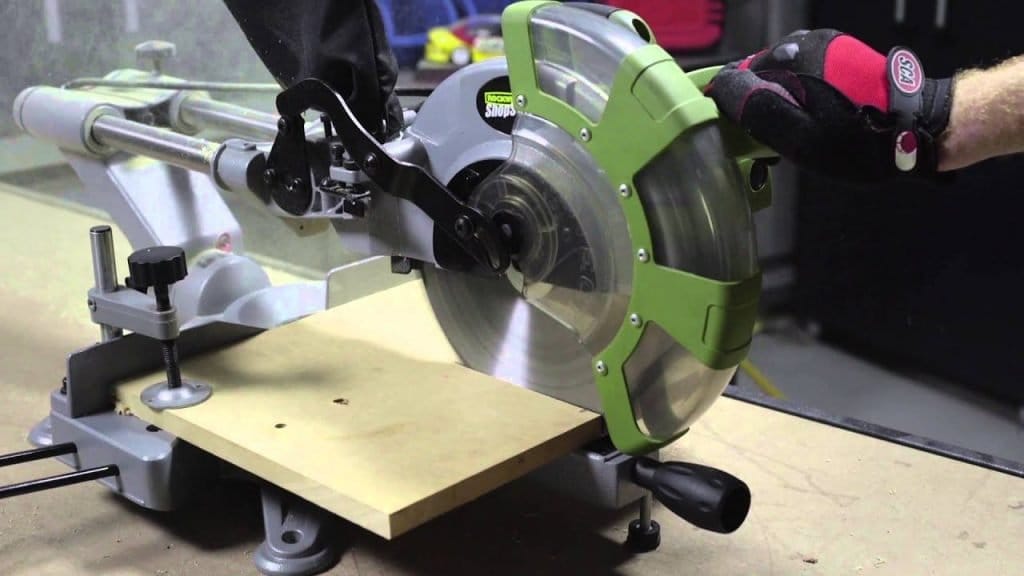
If you do have a sliding mitre and want to make use of that extra capacity then pull the blade out towards you and then start the cut. Always start this way. Whilst maintaining high RPMs, allow the blade to cut through the wood.
Now you have completed your cut it is very important that you let the blade come to a complete stop before letting it go back up to its resting position.
There are some mitre saws that include a blade break feature if yours does and you raise it before the blade stops, it will stop very quickly.
One thing to note is that you shouldn’t have to put much effort into the sawing aspect, that is one of the joys of the mitre saw!
However, if you find that you are having to push down hard then your blade could be dull (and you have clearly skipped one of our steps!). It could also be that your blade encountered a difficult knot in the wood.

How do I deal with the dust?
The one final thought, do you need a dust collector?
Some mitre saws will come with them. Honestly, the actual dust collecting capability of these can be a little hit and miss and you are probably going to find yourself needed to do a bit of cleaning. Having said that, some are very good!
If you are cutting inside then you could do much worse than getting a dust extractor, this will help to reduce the dust around you and ultimately what you might have to end up cleaning. A wet/dry vacuum can always be a good way to do this.
The best way to deal with dust is pretty simple. I can’t begin to pretend it’s groundbreaking but it is the best way!
Work outside. Yep. I told you it was simple.
If you work outside then there is no need for a dust collector or extractor. The only word of warning - check which way the wind is blowing before you start!
Conclusion
Well, that’s it your how to use a mitre saw guide, every step of the way.
While the process may seem daunting at first (and that blade does spin incredibly quickly), you should find that you will get the hang of it pretty quickly and nothing will be stopping you from crown moulding your way through life!