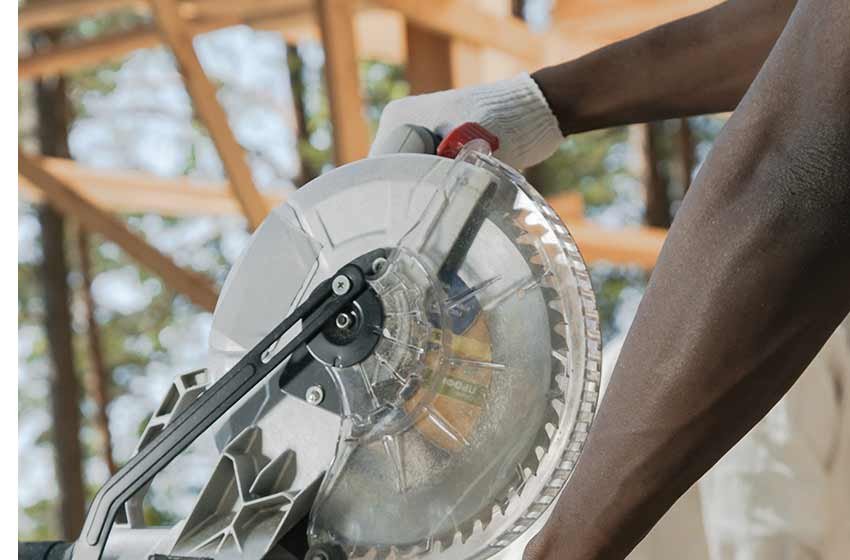
If you’re used to using a table saw, the idea of using a circular saw without a table might be a little daunting. But once you know the best way of going about it, it’s actually quite an easy transition to make.
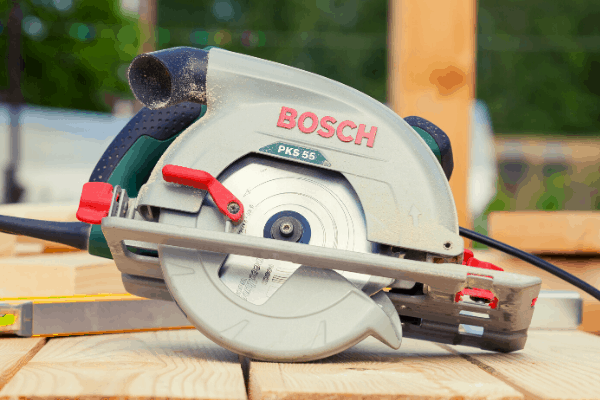
Some people might think that you’re better off using a table saw than trying to do the same job with a hand-held circular saw, but when a circular saw is probably more affordable, more compact, and just as capable as a table saw then that argument kind of goes out the window.
Unless you’re consulting a specialist in carpentry, woodworking or DIY, what your neighbour, uncle, or random stranger on the internet thinks shouldn’t matter anyway! If you’ve set the goal of using a circular saw without a table then this post will show you how to do just that.
There is one main method for using a circular saw without a table which we’ll address in a variety of steps to ensure your understanding of the process is as good as it can be. Let’s get into it!
Using a Circular Saw with Sawhorses
This method for using a circular saw without a table is really easy once you know how to set it up, and although there may seem like a lot of steps involved, once you know the process, it’s a breeze! Before anything else, make sure your circular saw blade is sharp.
If you haven’t got access to a table, then grab yourself a couple of sawhorses.

If you don’t know what a sawhorse is, it’s essentially a beam with four legs used to support a plank or board for sawing. You’ll need two sawhorses for this method, placing them far enough apart to support whatever piece of wood you want to cut without it falling or becoming lopsided.
Once you’ve placed your sawhorses an appropriate width apart, you need to get a couple of planks of wood at least as long as the distance between the sawhorses but ideally a bit longer, and balance them across the two sawhorses. This will form the base on which you’ll rest your wood to be sawed.
Now, you’re going to want to place the wood you want to cut so that it is centred over the planks balancing on the sawhorses, which are now acting as a sort of make-shift table. Once you’ve placed your wood, the next phase of the process can begin!
Health & Safety and Preparation
There are several steps you need to follow prior to beginning cutting with your circular saw, which are outlined below:
- Put on any necessary protective gear, especially if you’re a novice with a circular saw. This includes protective gloves, safety goggles, and even a respirator or mask if you want to be extra safe.

- Make sure your circular saw is switched off and not plugged in. You don’t want to risk any surprise blade spinning that could cost you a finger!
- Stand with your feet planted and your legs a decent enough width apart to give you solid support – the last thing you want is to fall over or lose balance whilst sawing.
- Place your hand towards the centre of the wood you’re going to cut, in a position that’s comfortable. It’s important that you aren’t putting any weight on the wood, you’re just preparing to cut.
Those last two steps might seem a bit pointless but practicing your stance before you begin cutting can give you more confidence as well as ensure you are standing safely. Once you’ve done this, you’ll know how you’re going to be standing over your circular saw when you do start the cutting process.
Measuring and Marking Your Wood
There are several methods for measuring your wood and drawing a line where you want to cut, so find what works best for you in that particular situation.
- You can use a tape measure to measure and mark where you want your cut to go, and then use a spirit level or ruler to ensure all the points you’ve measured line up exactly straight.
- You can measure your marks with your tape measure and then use a chalk line to create a line between the points.

A chalk line is a tool with a retractable string inside it that you can pull out to draw straight lines between two points that are too far apart for a spirit level or straightedge tool. The main compartment of a chalk line is filled with dry chalk power which coats the string so that when the string is stretched between two points, a chalk line is left on the wood. This line should be exactly straight, giving you the perfect guide for your circular saw.
Once you have drawn the line you want to cut on, you can calibrate your saw.
How to Calibrate Your Circular Saw
If you’ve used a circular saw with a table before then you’ll know how to calibrate one but if you’re new to circular saws or need a refresher then these are the steps you need to follow:
- The first thing you need to do is place the shoe (the flat piece at the bottom) of your circular saw on the wood you’re going to cut which is balancing on the sawhorses. You’re going to place it in such a way that the blade of the saw is hanging off the side of the wood.
- The exact mechanism for adjusting blade depth may vary from model to model but generally, there should be a lever of some kind that you can release or lock. Releasing it will allow you to adjust the depth of the blade.
- The depth of the blade is adjusted by moving the blade further up or down within the shoe. With the blade hanging next to the wood, you’ll be able to see exactly how much blade you’ll need to cut through the piece of wood you’re going to saw.
- In other words, you want to adjust the blade so that it is exactly level with the bottom of the wood you’re going to cut. This will ensure that the blade is able to slice through the wood completely, rather than just scoring it.
- Once you’ve determined the right blade depth, you can go ahead and lock the shoe lever again so that the blade is not able to move up and down anymore.
Making the Cut
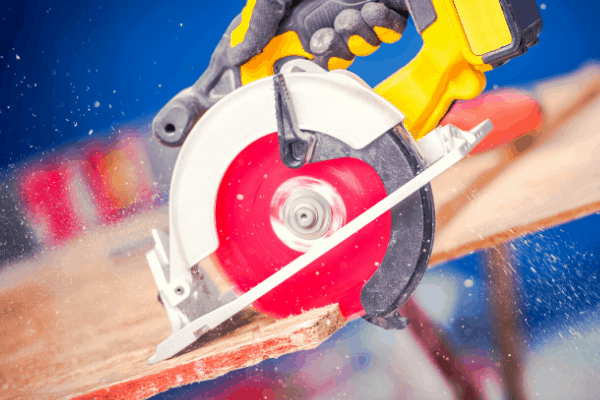
Once you’ve calibrated your circular saw for the specific task at hand, you’re ready to begin making the cut.
- Move your saw so that the line you drew is straight within the saw guide (make sure you’re once again standing in your comfortable but solid stance).
- Give your circular saw a few centimetres to get going rather than pressing the blade right up against the wood immediately. This will reduce kickback.
- Once you’ve aligned your circular saw, you’re ready to turn it on and get going! When you’ve turned it on, you can start guiding the saw forwards along the line you drew.
- Depending on the wood being cut, there might be different levels of resistance to the blade. If you find the blade going off course a bit, simply pull it backwards ever so slightly and correct it, using subtle movements.
- Follow the line until you’ve made it all the way through the piece of wood.
- Make sure you turn your circular saw off before moving it or putting it away.
Because you’re balancing your wood on a couple of planks between the sawhorses, the pieces you cut off shouldn’t fall to the ground, which should ensure they stay clean and undamaged.
That’s basically all there is to it! Simple right?
To Finish Up
Cutting a piece of wood with a circular saw doesn’t have to be a mammoth task. All you need is the right accompanying equipment, in this case the sawhorses and a few spare planks of wood, and you’re good to go. Don’t listen to the naysayers; a circular saw is more than likely capable of doing the same task as a table saw.
Once you’ve finished slicing, make sure you clean any wood residue off your saw blade (carefully!) and tidy away all your other bits and pieces. Keeping your work area clean and tidy is really important and will minimise risk of accidents as well as ensure you’re able to put out the highest quality of work.
You can find additional circular saw tips here.


