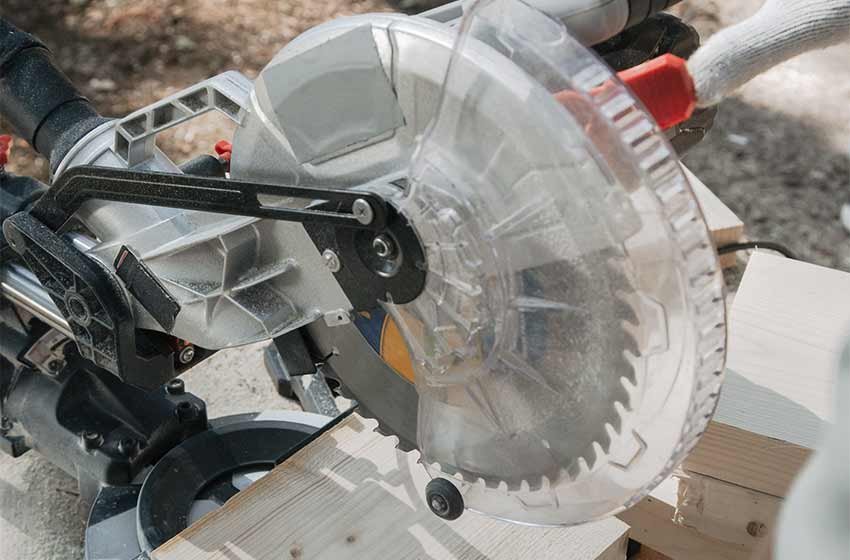
If you are looking to install your flooring then it's likely you will need to cut your wood beading at some point. Wood beading needs to be cut at specific angles and joints so it can be fitted seamlessly around your room, this can be easily done DIY with a mitre saw.
However, what happens if you don't have a mitre saw? How do you cut these pieces of wood at an angle? Well, don't worry, we have listed out some of the most popular ways you can cut angles in your beading with common power tools below.
So with that being said, let's get into it!
What Is Beading?
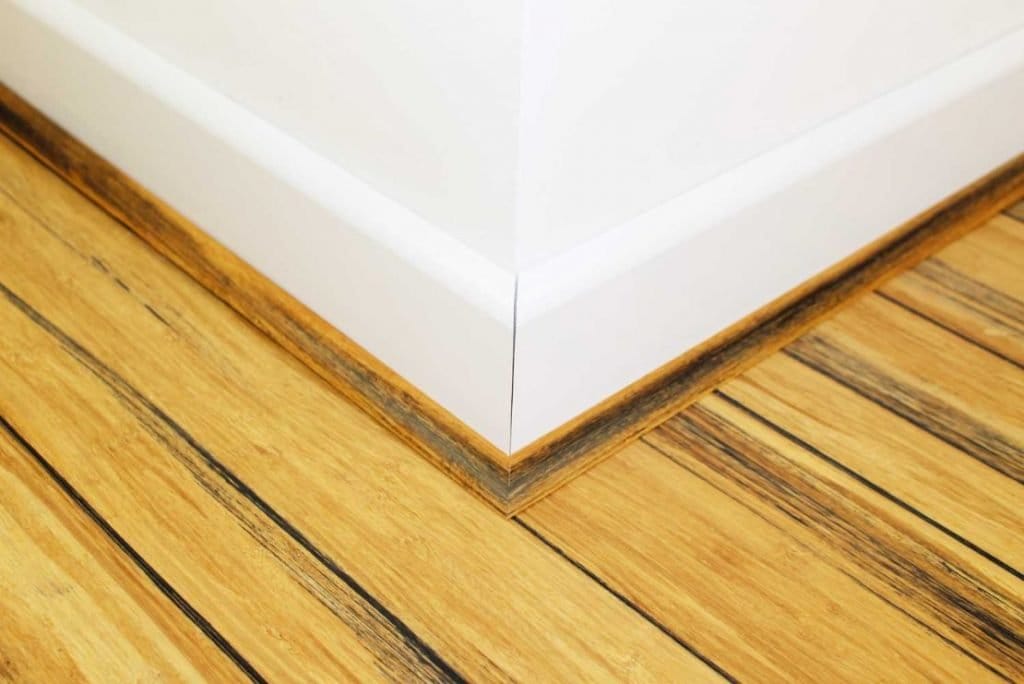
Wood beading is a decorative moulding that can help line furniture's or windows for a neat finish, it can also prevent splitting and can help smooth rough edges or fill in gaps between boards such as a laminate flooring or hardwood flooring.
This beading tends to come as either scotia or quadrant, both perform the same function for floor beading but have different styles according to your preference. It's easy to measure how much beading you need for a window or room just by measuring each wall in the room and adding them together; then cutting down the beading to your preference.
After cutting this beading it can be easily applied with glue or nails.
Cutting With a Circular Saw
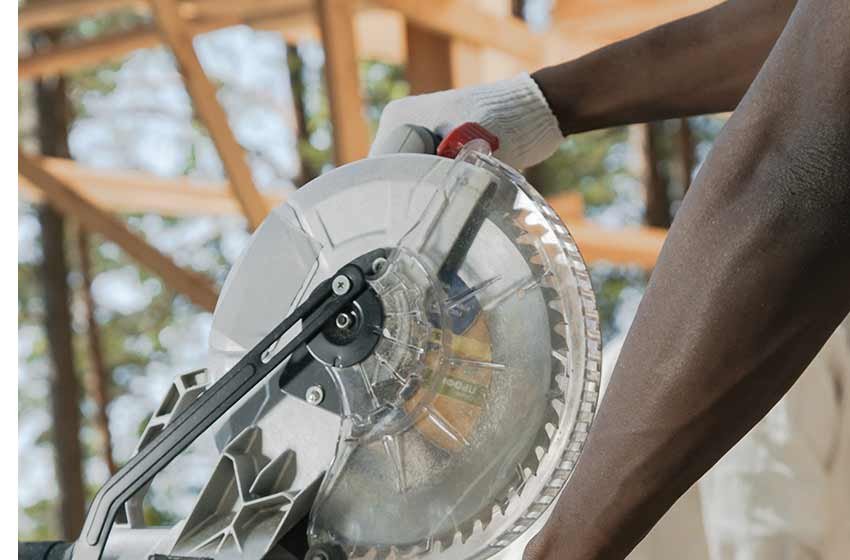
Cutting angles on wood beading with a circular saw can be a challenge if your new to using a circular saw, however, with practice you can grow more comfortable when cutting angles.
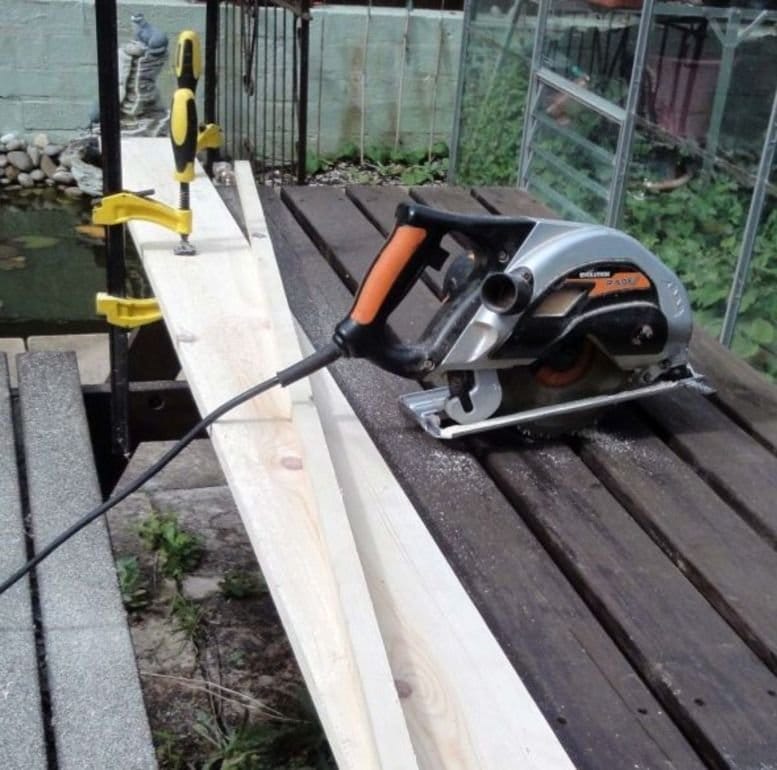
The best way to get a good angled cut with a circular saw is first to make sure its depth is set correctly, its best to use a saw that can be angled to 45/90-degrees. For accurate results use a speed square against the beading and draw with a pencil as a guide for a 45-degree angle.
Then clamp the beading in place with the angled guide drew on. After clamping the beading in place you should then angle the bevel of your circular saw to 45-degrees, after doing this you can pull the blade guard back and start to cut where you have made the lined angle. Keep the base of your saw flat against the material while doing this.
Using a Router Table
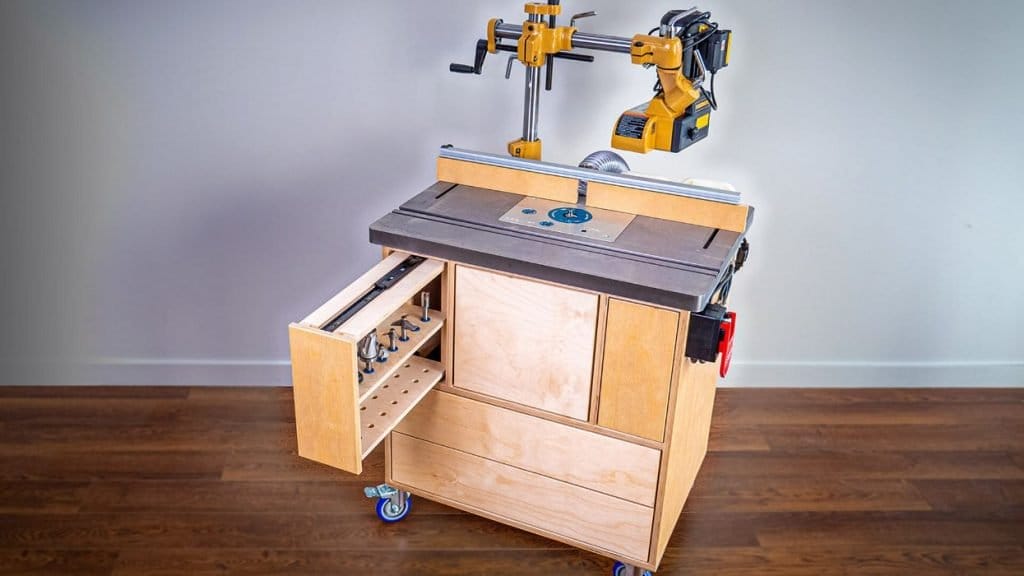
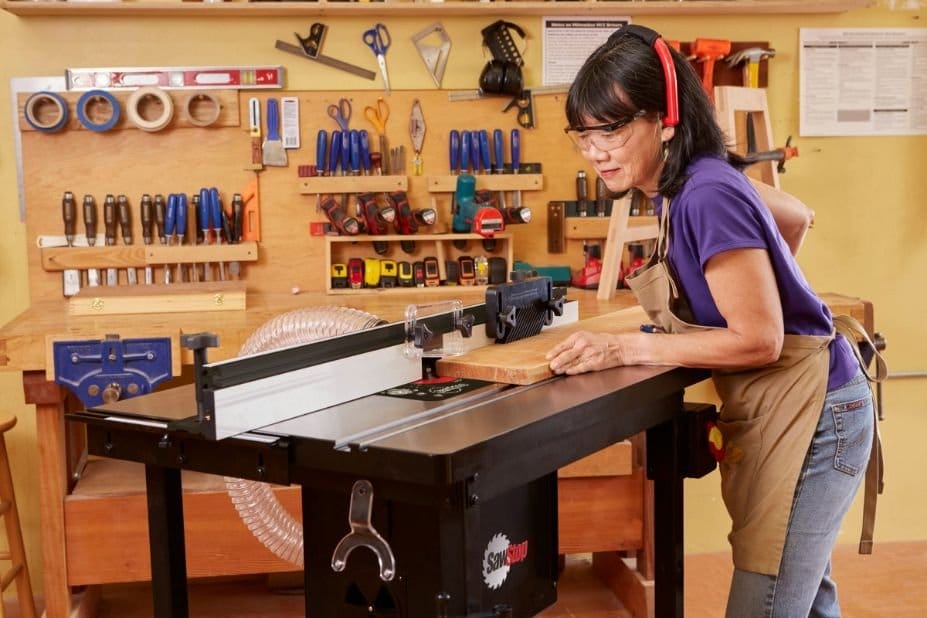
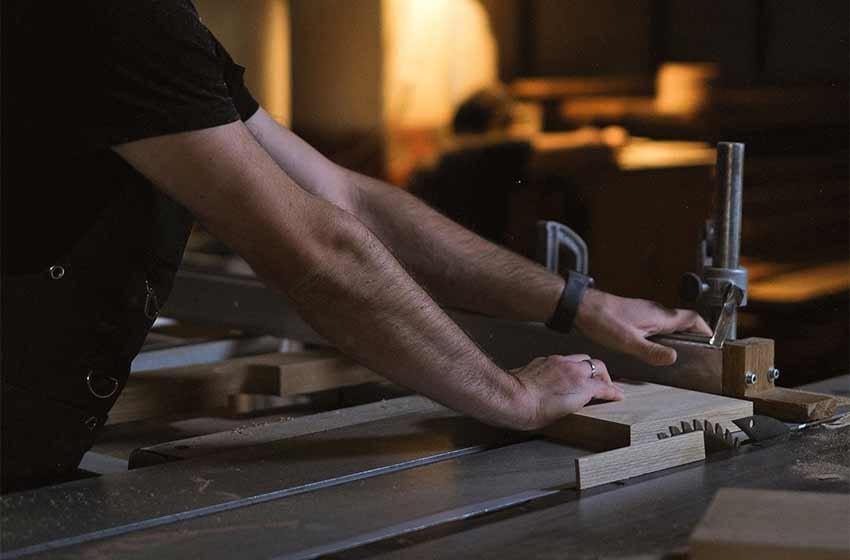
To cut an angle in wood beading with a router table is fairly simple. First, you need to make sure you have the router table turned off, then attach the most suitable tool bit you have for the job, some tool bits are angled, a flush-trim bit tends to give the best results. After installing your bit keep it raised above your wood and set it to a small fence offset.
Use a protractor to measure the angle required for your beading then bring the fence as close as possible without it touching the bit. For top results, we would recommend cutting angles in some scrap pieces of wood first then your beading to make sure your router table is set-up correctly.
Cutting By Eye
Now, cutting your beading by eye isn't the most accurate way to ensure your angles are correct, however, we have a couple of tricks that can help you out if you don't have an angle guide.
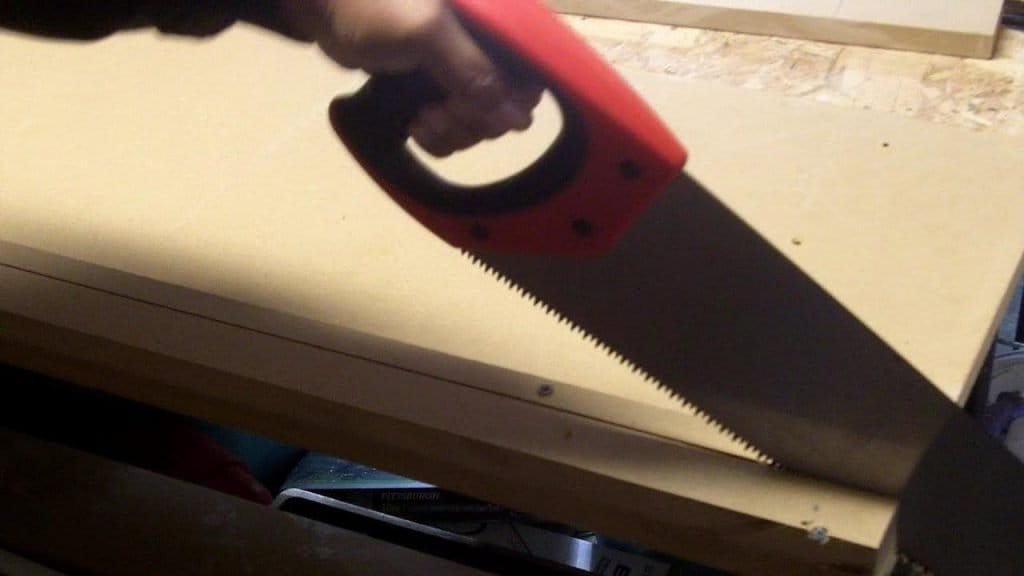
To cut your beading by eye you will need a rectangular piece of paper, a pencil, a handsaw and your beading material. First, place your paper with the length lying along the surface of your beading, then fold the right side of your paper to the top right side to form a sharp triangular shape.
Flip over the paper so as the left side replaces where the right was and fold once more to make a quadrant shaped piece of paper. Open up the paper and lay the beading on top at a 45-degree angle, it should be laying on the left side of the paper. Rest the right side of the paper on top of the beading after then draw a straight line on the wood, using the paper as a guide.
After this you can then take your handsaw and cut against the guide line for an angular cut on your wood beading.
Other Ways To Find An Angle When Cutting
If your feeling overwhelmed without a mitre guide/saw, there's a couple of other things you can use that can help you to cut a more accurate angle in your woodwork.
Go back to maths basics
One of the best ways to calculate mitre angles on wood is to use maths. All angles should add up to 360-degrees, therefore you can split them into several angles, for example, two 45-degrees add up to 90 degrees or two 30-degrees equal a 60-degree corner, meaning 6 corners of these equal 360-degrees.
If your looking to find a mitre angle on a calculator simply divide 360-degrees by the number of sides for a corner angle, then divide it by two for a mitre angle.
Use a protractor angle
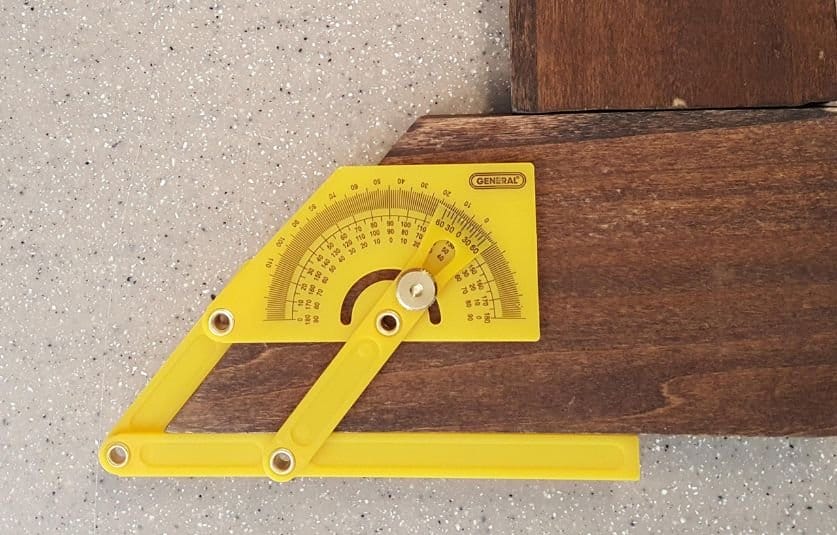
Protractors can be good for finding angles but you might find them a little difficult to use on beading as they read angles from the corner and not a fence like mitre gauges and saws do. However, when used correctly they can be just as good for cutting angles in wood like a mitre system can.
Try a hands-on approach
Most carpenters use a hands-on approach which is more accurate than other methods as they take into account all the different patterns and indents on wood. This approach is done by drawing a full-sized footprint of the angle you want on scrap wood then using the straight edge to cut the corner diagonally which represents the mitre angle.
Then place two pieces of wood on the drawing with the ends together and put the diagonal line on the ends of these woods with a pencil. Cut both pieces of wood on the pencil line and you'll have your mitre angle.
Use a bevel square
A bevel square is a short flat blade that locks on a handle, this angle finder is great for measuring beading and locks into place once you have found the correct angle, allowing you to make the right cut easily. Its a good idea to cut some test pieces first to ensure you have the proper angle.
Safety Tips For Cutting Wood Beading
If your going to use one of the three tools above then its a good idea to familiarise yourself with some of the common safety tips to use your tool correctly when cutting beading.
We have listed out the general safety tips for each each kind of tool below.
Circular Saw
- Use the right blade and make sure it's sharp - You should ensure you are using the correct blade for cutting the material of wood beading, the blade should also be sharp enough to make a clean cut, especially when cutting angles. If your blade isn't sharp it could result in a poor finish or even injury.
- Ensure your cutting piece is clean - Make sure your beading has no nails or obstructions that could get in the way while cutting, if the blade hits anything like this you could risk the nail flying out and causing injury.
- Check the depth - For cutting angles you need to make sure you set saw depth not too long and not too short, the blade should not stick out the beading more than 1/4 of an inch.
- Don't adjust while cutting - When starting to cut you should never try and adjust the blade as this can cause kickback in the machine, circular saws are mainly designed for straight cuts so you need to be certain your confident with your angle when cutting the beading.
- Make sure the beading is secure - While cutting it's important your beading is clamped down firmly on one side for a safer cutting process.
Router Table
- Remove a small amount of material per pass - You should cut your beading down to a smaller size, to begin with, then make an angled cut, too much excess material can cause kickback with a router table like this.
- Wear safety equipment - Its important to wear safety goggles and masks when doing woodwork like this to prevent any debris going in your eyes while cutting.
- Use push sticks - Push sticks allow you to have more control over your beading while keeping your hands away from the blade, giving you a better cut while protecting your hands.
Hand Saw
- Start sawing slowly - When using a handsaw to cut anything you should make sure you start slowly to prevent the handsaw from buckling when cutting material.
- Keep the beading stable - You should use a clamp to keep your beading stable while cutting, if holding by freehand then you need to make sure you are wearing thick gloves.
- Inspect the hand saw before use - Your handsaw shouldn't have any damages or bends on its handle, make sure the saw is in good quality before using it.
Final Words
Overall, cutting beading without a mitre saw is possible, if it's your only option, just make sure you practice your angles on scrap wood first and use any guides you can find such as protractor angles or bevel squares to improve your result.
