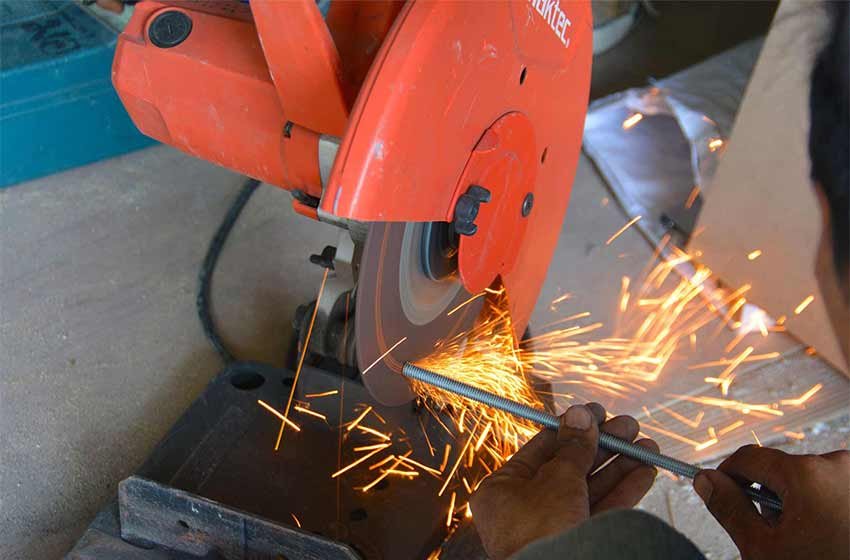
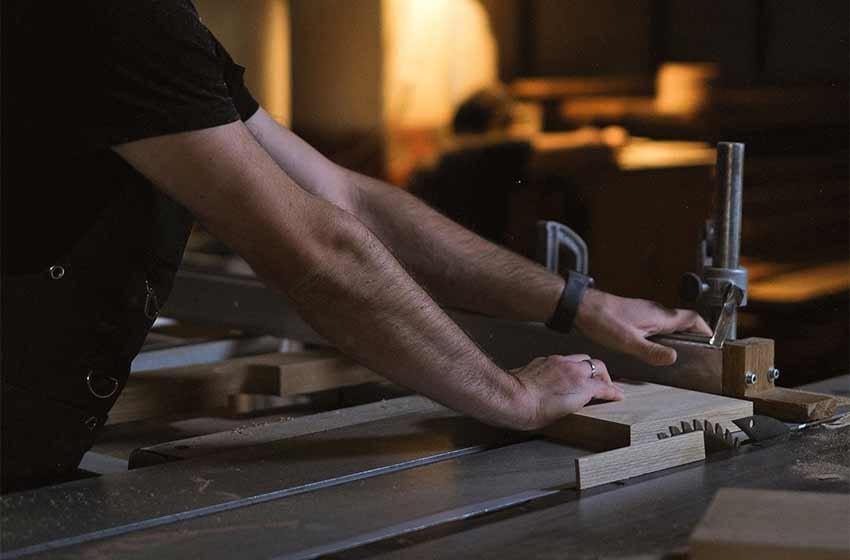
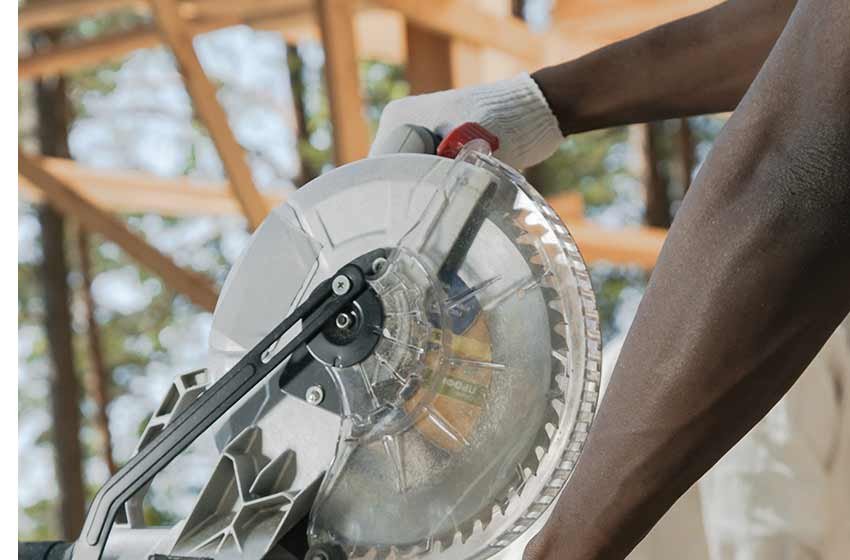
Compound mitre saws make crosscuts and mitre cuts in seconds. The blade is mounted on an arm which you drop down onto the piece you're working on. They can, in their different iterations, cut through wood, metal, plastic, many other materials depending on blade.
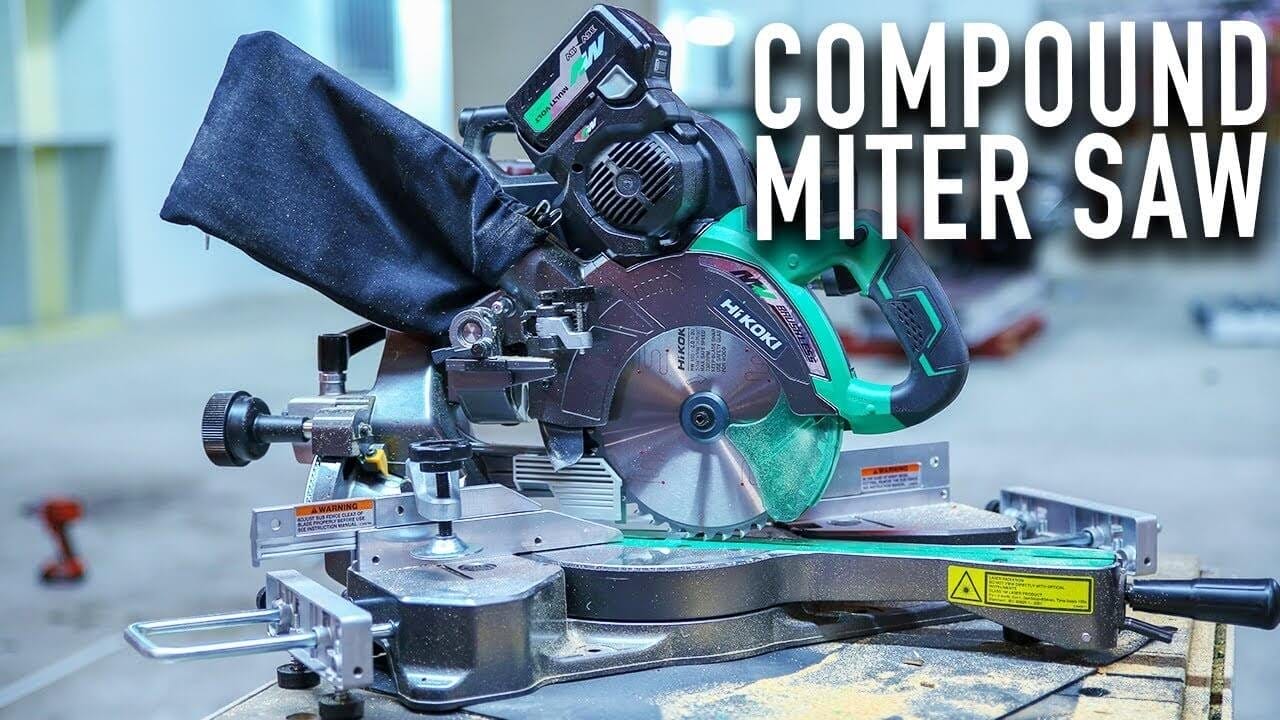
The Compound in Compound Mitre Saw
Whilst a mitre saw might typically make 90° or 45° cuts, a compound mitre saw takes things to a new level. The blade head can rotate at a variety of angles, letting you cut angles below, above, and beyond the old 45° and 90°.
Commonly compound mitre saws will have preset stops at angles between the classics, like 22.5° for instance, and they'll also cut anything in between. This continuous range of cut means they're great for creating intricate joints with interesting angles.
So compound refers to the multiple angles you can rotate the head, in relation to the piece.
Going further into the distinction you can have single compound mitre saws, and dual compound mitre saws. The difference here is that a dual compound will let the head rotate to both the left and the right, whilst a compound mitre saw might only let you move it one way.
I say might as there are not really any rules enforcing these names. Some compound mitre saws might be dual without mentioning it - show-offs.
Sliding Compound Mitre Saws
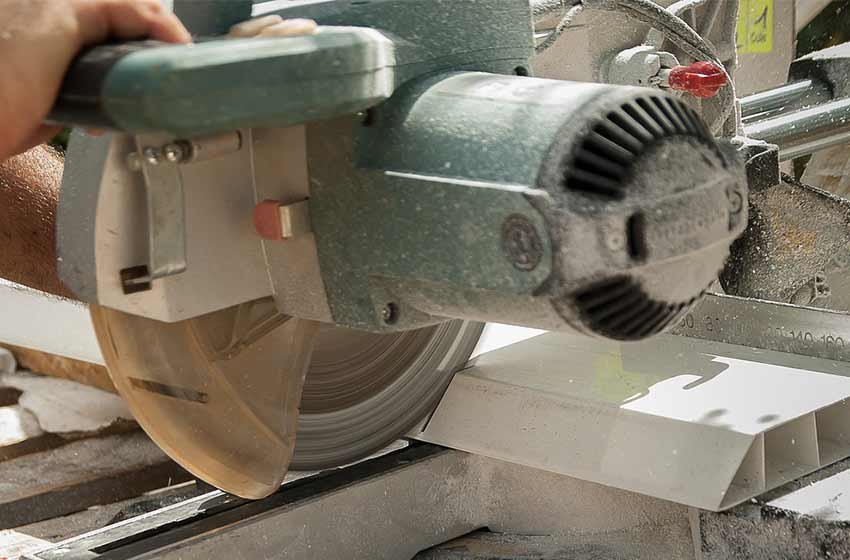
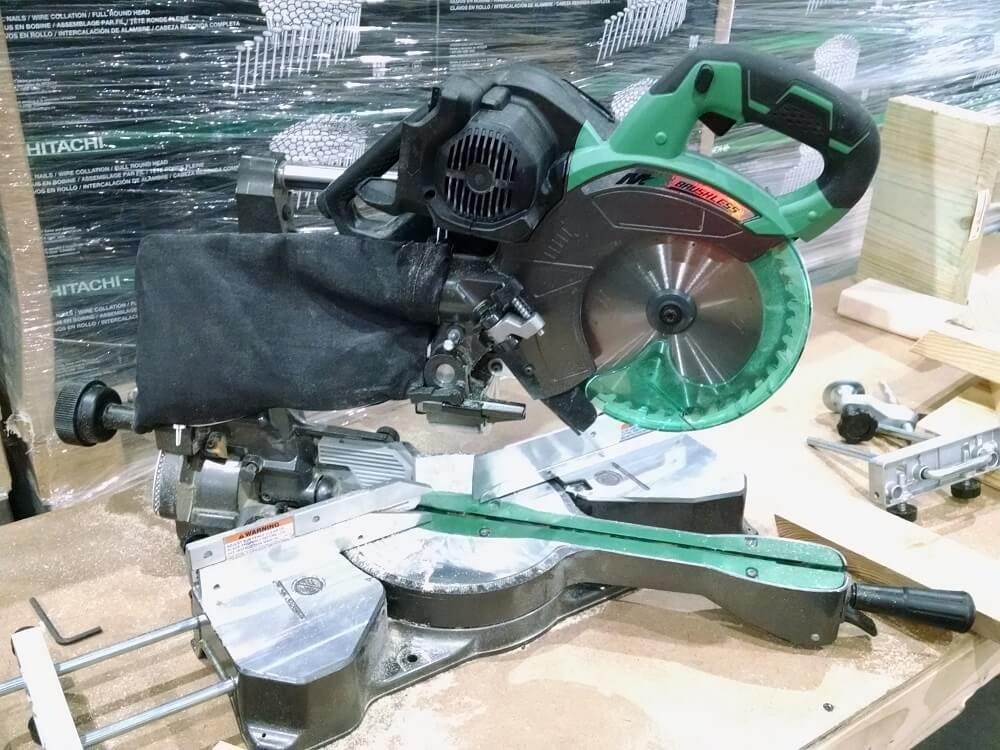
A sliding compound mitre saw does have something different to offer. Whereas a compound mitre can only cut the width of the blade it holds, a sliding mitre can go further still. This is because the blade head sits on a sliding rail. Instead of simply dropping this head down, you can pull out the head, drop it down and then cut into wider widths.
These tools can also be used just to drop down like a regular compound mitre, but they give you a good bit of extra reach.
Some of our favourite sliding compound saws have been compiled here, if a budget tool is what you're after, sliding mitres come in under £200 quite frequently these days.
Essential Features
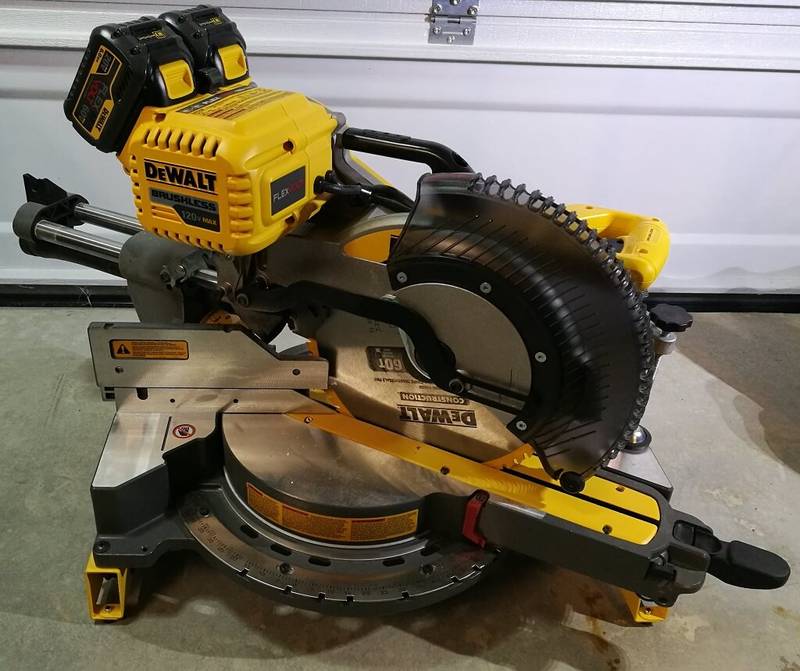
When shopping for a mitre there are some basic and essential features you are going to want.
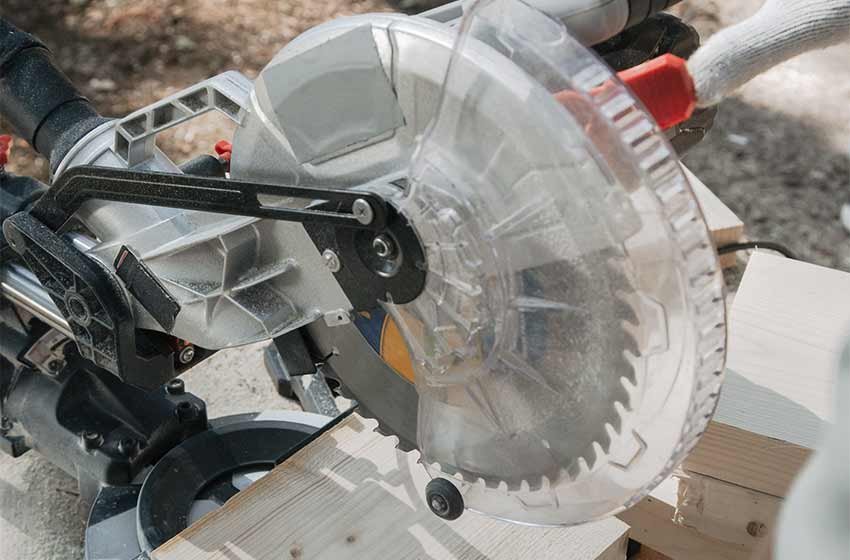
Number one to me is a blade guard is sturdy and trusty. The blade guard drops down over the blade when not in use and when cutting it prevents sparks and shrapnel from flying around. Highly essential, don't buy a second hand one without it - unless you know you can get the correct spare from somewhere.
Blade size, mitre saws come in a wide range of sizes. The smallest I've come across is around six inches and the largest, about one foot. Whilst big is good, if you have a blade that's too small you can always flip the piece over. A combination of blade size and machine expense seems to dictate the cutting depth you're going to be able to achieve.
Kerf is another factor to take into account - just how fine do you want to work with your mitre? Standard kerf, that is the amount of material that is removed when making the cut, is around 1/8 of an inch or 3.1mm.
Not all blades will work with all mitre saws. Aside from obvious diameter constraints, the arbour or bore of the blade refers to the hole which allows you to attach it to the saw. These tend to come in either 30 mm or 1" - yes the old unit debate rages on in mitre-land.
Mitre saws can produce quite a lot of dust, that's why many have dust extraction systems or ports. These ports can be used with either a basic dust bag, or hooked up to a larger extraction system. Personally, the Festool dust extraction system is my favourite.

The Ever-Expanding Range
With the basics attended to, you can now start to imagine what features and extras you might imagine you'd like.
Mitre saws these days are getting more and more powerful, but they're also getting more and more compact. There are even cordless mitre saws, which are aimed at tradesmen in the roofing and flooring sectors. But I'm sure they'd find a home with a cabinet maker or any other kind of installation work.
Many mitres nowadays are using laser guidance systems to project a cut line. These can be useful if they are correctly calibrated. However, it is possible for them to slip out of place and kilter over time. That's before we get into whether they run through the main power supply to the tool or require batteries in and of themselves.

In a bold bit of engineering design, DeWalt have concocted a 'Shadowline' cutting system. This method utilises a series of LED lights to create a shadow using the blade itself. This system doesn't require calibration (providing you've got the blade on true and correct).
The downside to both these guidance systems is that they can falter if you're working in especially bright conditions - like the great outdoors or just a spotlit workshop. As a result of this inherent technological weakness, we still recommend a pencil and some common sense. Always measure twice, and cut once.


