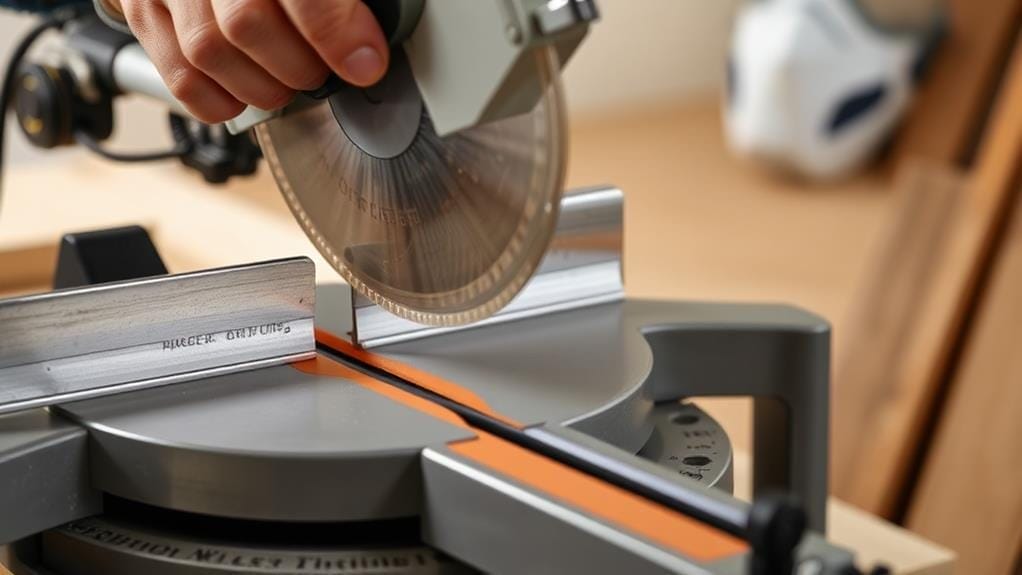
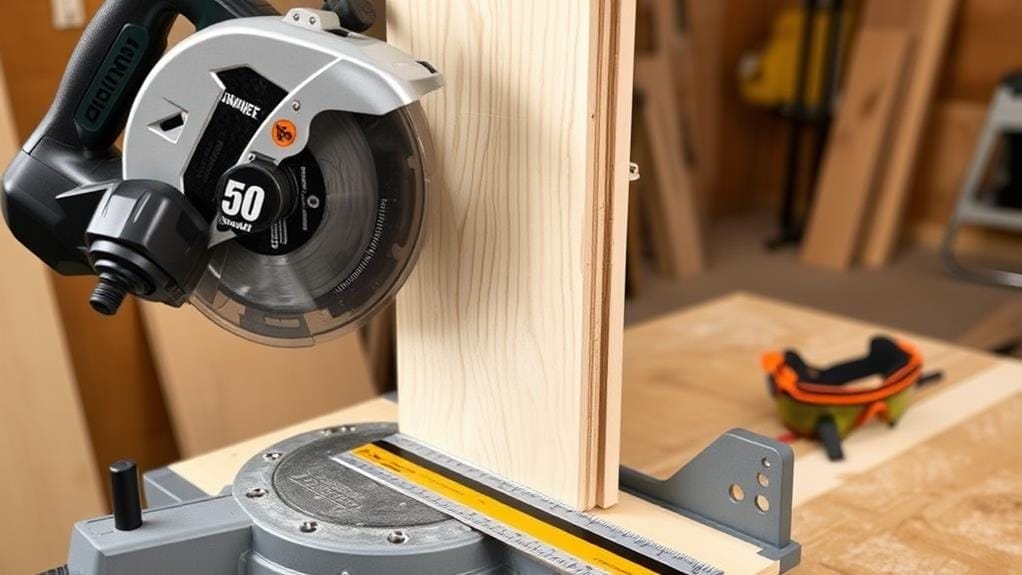
To master the art of cutting baseboards with a miter saw, start by choosing the right saw for your project, considering type, dual-compound capabilities, and cutting capacity. Next, understand joint types - miter, scarf, butt, and coped - and learn how to achieve 45-degree beveled cuts for clean corners. Set your miter saw to the correct angle, measure and mark your baseboard lengths accurately, and test-fit your pieces before installation to guarantee alignment. Keep your workspace organized and free from debris, experiment with height angles, and prioritize precision cutting to avoid gaps and minimize the need for fillers - crucial skills that expert woodworkers take years to refine.
Choosing the Right Miter Saw
Choosing the right miter saw for cutting baseboards requires considering several factors to guarantee a precise and efficient cutting process.
You'll want to think about the type of miter saw that suits your needs. Compound miter saws offer single bevel capabilities for complex trim work, while sliding compound miter saws allow for wider boards with their sliding mechanism.
Opt for a dual-compound miter saw for flexibility in pivoting both left and right. This improves versatility for various cutting angles and projects.
When it comes to the blade, choose a high-quality one, such as a 60-tooth blade, for cleaner and sharper cuts on baseboards and trim materials.
Consider the cutting capacity of the miter saw and match it with the dimensions of the baseboards. For tall baseboards, look for saws with higher fences or consider elevating the workpiece for better angles.
Always review the manufacturer's specifications and recommendations for the miter saw model you choose to confirm it meets your project requirements and safety standards.
Understanding Joint Types and Cuts
When tackling a baseboard installation, mastering the various joint types is crucial for achieving a professional finish.
You'll need to understand which joints work best for different applications, and how to make the necessary cuts using your miter saw. The most common joints used in baseboard installations include miter, scarf, butt, and coped joints.
A miter joint involves making 45-degree beveled cuts on two pieces of wood, which come together to form a clean corner.
A scarf joint is used for extending the length of a board, featuring tapered ends that connect vertically.
The simplest joint type, a butt joint, involves joining two pieces of wood end to end.
A coped joint combines a butt connection with a fitting end trim, allowing one piece to fit snugly against the profile of another.
Understanding these joint types will help you determine the most appropriate cuts for specific applications.
Mastering Inside Corner Cutting Techniques

To master inside corner cutting techniques, you'll need a solid understanding of how to make precise cuts on your miter saw.
When cutting inside corners, set your miter saw to 45 degrees. This angle guarantees a snug fit between baseboards and eliminates gaps.
To make accurate cuts, use a tape measure to determine the length of each baseboard piece. Mark your cut lines clearly on the baseboards with a woodworking pencil. This makes it easier to see where to cut for accurate angles.
Before making the final cut, double-check your measurements. After cutting, use a utility knife to clean any splintered edges for a smoother finish.
Test-fit the cut pieces before final installation to verify that they align correctly without gaps at the inside corners. This step is essential to guarantee a professional-looking finish.
Here's a quick checklist to follow:
- Measure the length of each baseboard piece accurately
- Mark your cut lines clearly with a woodworking pencil
- Test-fit the cut pieces before final installation
Essential Safety Considerations and Precautions
Operating a miter saw safely requires more than just technical knowledge - it demands your full attention to safety precautions. You must take necessary steps to protect yourself from potential hazards associated with this powerful tool.
To begin, make sure you wear the right protective gear, including safety goggles and a dust mask. This will shield your eyes and lungs from debris generated during the cutting process.
Furthermore, inspect your work area to eliminate any hazards and secure the baseboard properly to prevent movement during cutting.
Maintain a firm grip on both the miter saw handle and the workpiece to prevent accidents and guarantee accurate cuts. In addition, avoid wearing loose clothing or jewelry that could get caught in the saw, and keep long hair tied back to minimize risks.
Lastly, regularly check and maintain the miter saw's safety features, such as blade guards, to confirm they're functioning correctly before use.
Tips for Achieving Precise Miter Cuts

Now that you've taken the necessary safety precautions, it's time to focus on precision-cutting your baseboards. To achieve precise miter cuts, start by carefully measuring and marking the length of your baseboard, taking into account the material's thickness when setting your miter saw angle.
For standard inside and outside corners, set your miter saw to 45 degrees. If gaps remain, consider slightly adjusting the angle for a tighter fit. Use a high-quality 60-tooth blade to achieve cleaner and sharper cuts, vital for professional-looking miter joints.
Before final installation, test-fit your pieces by placing them together without nails to check for alignment and make any necessary adjustments.
A well-organized workspace is likewise important. Keep your area free from debris to minimize distractions and guarantee safe, accurate cutting during the miter joint process. This attention to detail will help you achieve precise miter cuts and a professional-looking finish on your baseboards.
Common Challenges and Troubleshooting Solutions
Commonly, you'll encounter a few challenges when cutting baseboards with a miter saw, and addressing these issues can make all the difference in achieving a professional-looking finish. Ensuring the correct miter angle is essential; use a protractor to verify the angle before making the cut. If your miter cuts don't fit together properly, try adjusting the saw angle slightly less than 45 degrees to achieve a tighter joint.
For baseboards that exceed the miter saw's fence height, consider elevating the workpiece with a jig to allow for easier and more accurate cuts. To minimize splintering, use a fine-tooth blade (60-tooth or higher), which can greatly improve cut quality.
If gaps remain after fitting your baseboard joints, don't resort to filling them with wood filler or caulk. Instead, recut the pieces for a cleaner finish. This approach may seem time-consuming, but it's more effective in the long run.
To avoid rework, double-check your miter angles and use the right blade for the job.
Cutting Tall Baseboards With Angles Greater Than 45 Degrees

To effectively cut tall baseboards that exceed 11 inches, you'll need to tackle the challenge of making precise cuts at angles greater than 45 degrees. Standard miter saws often can't accommodate these angles, requiring you to get creative.
For example, achieving an outside corner at 88 degrees means calculating the miter angle at approximately 46 degrees, which is beyond the typical capacity of most standard miter saws.
One solution is to use a jig to raise the baseboard by 5 to 10 degrees. This allows you to cut at steeper angles while keeping the baseboard within the miter saw's capacity.
Nevertheless, it's vital to adjust the miter saw's settings to accommodate for the height in the workpiece. Remember, a 1-degree height can result in a 1-degree shallower cut, impacting precision.
Experiment with different height angles to achieve the desired fit. Key considerations include:
- Calculating the correct miter angle for your specific baseboard height
- Adjusting the miter saw's settings to account for height in the workpiece
- Fine-tuning the height angle to achieve a precise fit without gaps or misalignment
Final Installation and Adjustment Techniques
After fine-tuning your mitre cuts to fit your baseboards perfectly, it's time to focus on the final installation and adjustment techniques. When securing your baseboards, drive brads at an angle into wall studs, making sure nails penetrate into the wall's soleplate for stability.
To guarantee a clean and professional appearance, follow these steps:
- Test and adjust: Test-fit your baseboards to confirm tight miter joints without gaps. If necessary, make slight adjustments to the saw angle to guarantee precision.
- Avoid filler: Avoid using wood filler or caulk for large gaps; instead, recut pieces to maintain a clean appearance at joints.
- Check alignment: Verify final pieces accommodate any out-of-square corners by checking for alignment before fastening them into place.
After installation, check for slight recessing of brad heads below the surface and adjust nailer tool settings if necessary for a flush finish.
Frequently Asked Questions
How to Cut Baseboards With a Miter Saw?
When cutting baseboards, you'll need a miter saw. Set it to a 45-degree angle, use a fine-tooth trim blade, and mark your cut line clearly. Measure carefully, test-fit each piece, and wear safety goggles.
What Is 31.6 on a Miter Saw?
You're likely wondering what 31.6 on a miter saw means. It's an angle setting often used for trim pieces and baseboards in architectural designs. You'll use this setting for precise cuts where 45-degree cuts aren't suitable.
What Is 33.9 on a Mitre Saw For?
You're looking at the 33.9-degree setting on your miter saw, which you'll typically use for unique trim corner joints where walls aren't perfectly square, creating a tighter and more professional-looking joint in various woodworking projects.
What Angle to Cut Baseboards?
When cutting baseboards, you'll need to determine the correct angle. For standard corners, you'll typically cut at 45 degrees. But for complex or non-standard angles, you'll use a protractor to measure and set the angle.


